
A little over a year ago, I started this blog on a whim, not exactly sure where it was going, or if anyone would ever look at it {thanks, everyone, for being a part of Crazy Daisy, which simply would not be without you}. These flowers were posted in those early days.
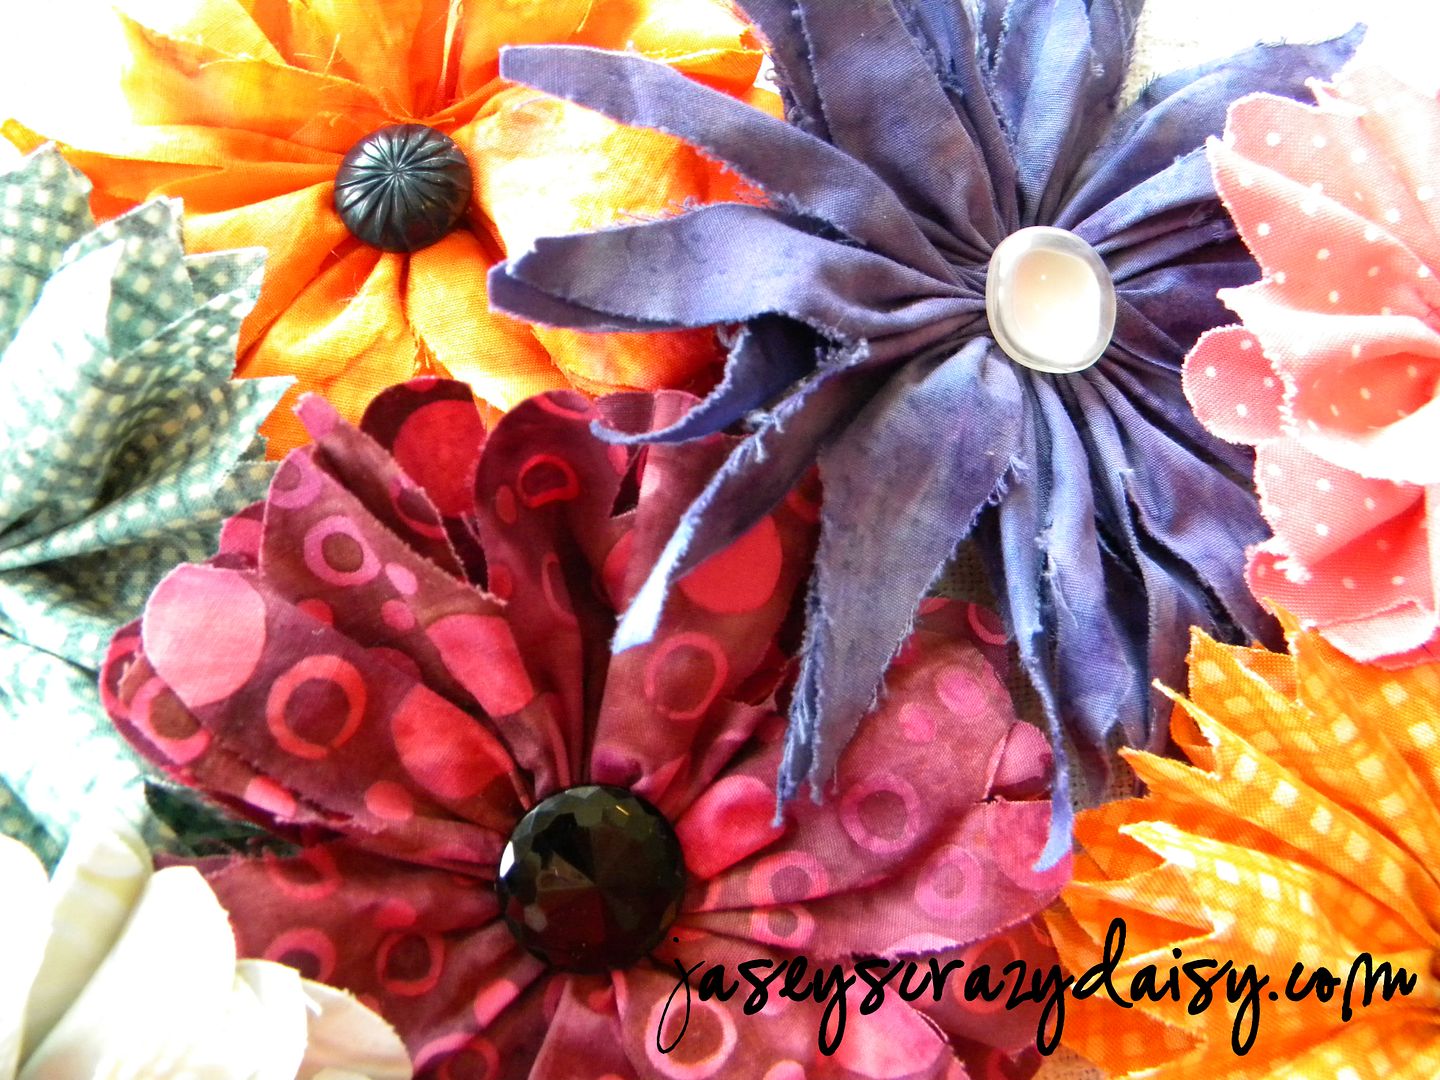
I had the confidence to share them, but not to tell how to make them. You asked, but I didn't think I really knew how to write a great tutorial. However, in this year I have learned a lot, found some focus and direction, grown a little confidence, and am finally sharing the how! So, if you are still interested, here you go. Thanks for hanging in there and being so patient as I journey through this adventure.
You will need:
*Fabric
*Scissors (you may want to use a rotary cutter and cutting mat, if you have them)
*Needle
*Thread
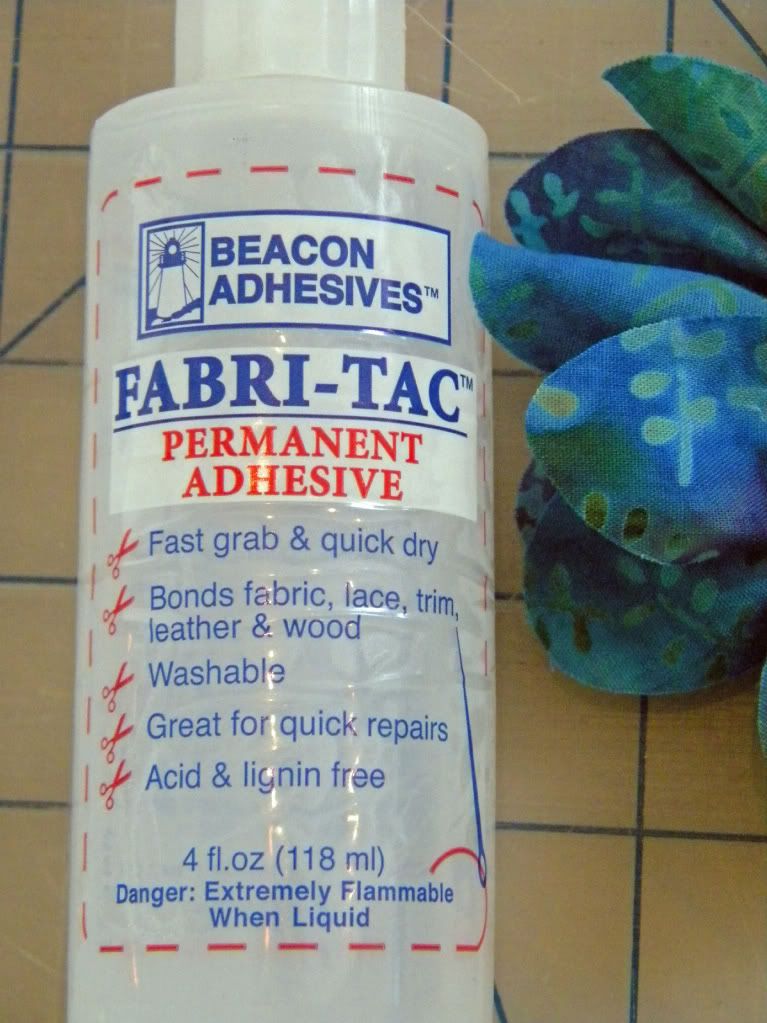
*Fabric Glue
*Buttons or other embellishments
*Broach Clips, Alligator Clips, Headbands, or whatever you wish to use your flowers for
Method:
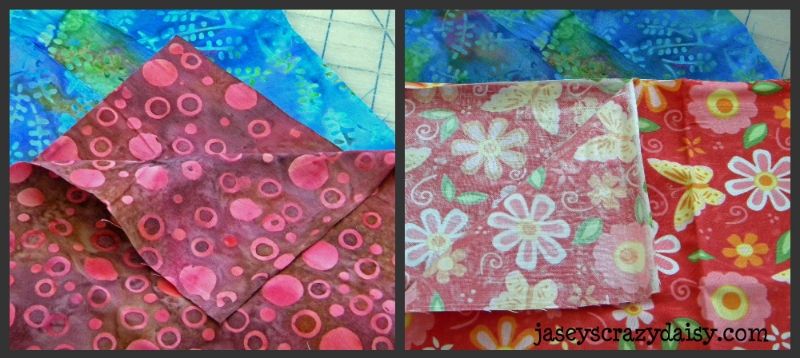
1. Fabric. Think about your fabric. In my opinion, batiks work best because both sides of the fabric are colored which means if your flower is wispy or has movement, there will never be a discolored ugly side peeking through. You can use regular fabrics, but I would reserve them for flowers with shallow cuts so that the petals won't have room to flip or twist showing the wrong side of the fabric.
2. Width. Think about how big you want your finished flower to be. Cut a strip, the width of the fabric, half as wide as you want your flower to be. For example, if you want a flower to be about 5 inches in diameter, cut a 2 1/2 inch strip the width of the fabric. Sometimes when my flowers are smaller, I don't need the entire strip, and sometimes when they are larger, I actually use two strips, layering the flowers for extra fullness. It just depends on how full you want your finished product to be. After you play with it a little, you will get a feel for what works best for you.

3. Petals. Get creative. This is where you design the type of flower you want. Fold your strip in half, carefully lining edges. You can just cut, or draw your pattern first using a sewing marker (the ink disappears with water). Make sure your pattern, specifically your petals, end at the folds and not somewhere in the middle or you will have some funky two-headed petals in your flowers.
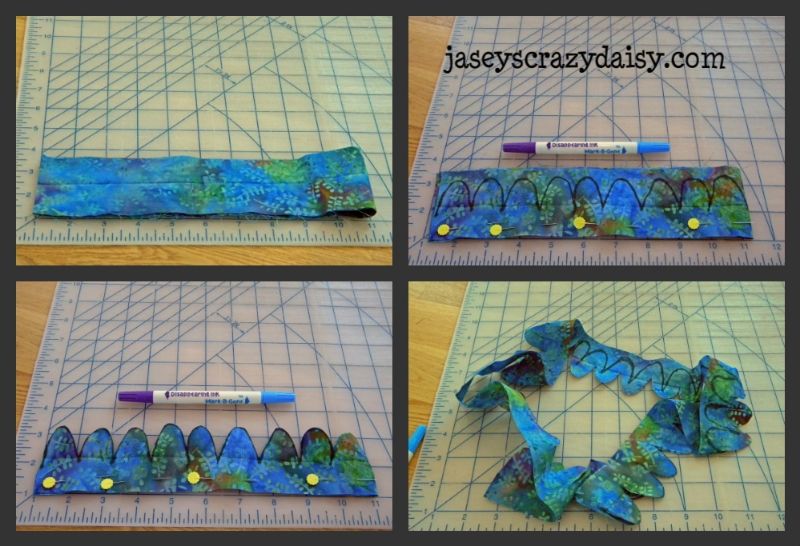
You will be able to change the kind of flower you make, by altering the way you cut your fabric. Here are some examples. The sky's the limit!
4. Gather. Thread needle. Tie a knot in the end. Push the needle through the end of your strip, the knot will keep it from slipping though. Keeping pretty close to the straight edge, push the needle back and forth through the fabric until you reach the other end, gathering the fabric as you go. When you reach the end of the strip, knot the thread so things don't unravel as you finish up.
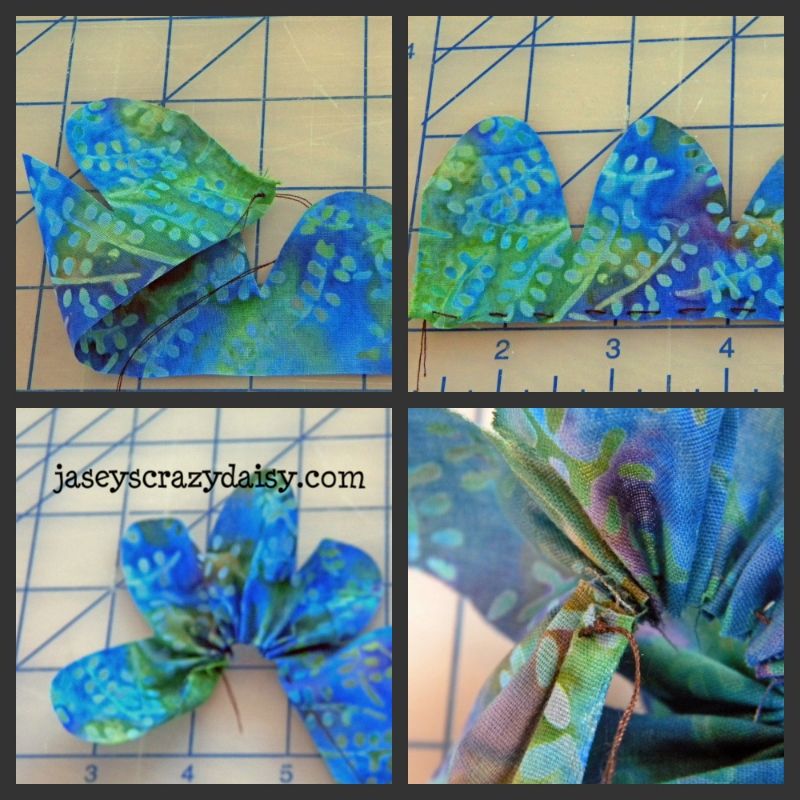
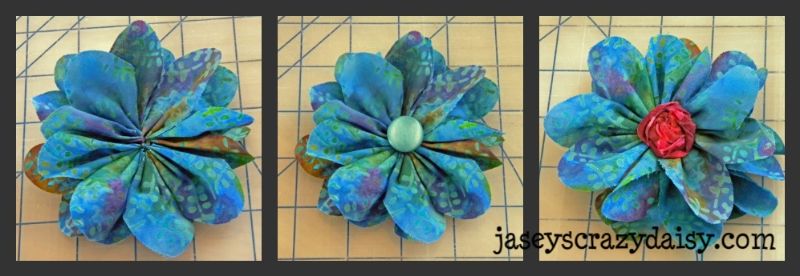
5. Shape. Your flower will naturally curl. Using that curl, shape your flower by curling it into a circle. Use fabric glue, or stitch your flower into place. You may either leave your flower as is, or add a button or other embellishment in the center. Again, glue or stitch as preferred.
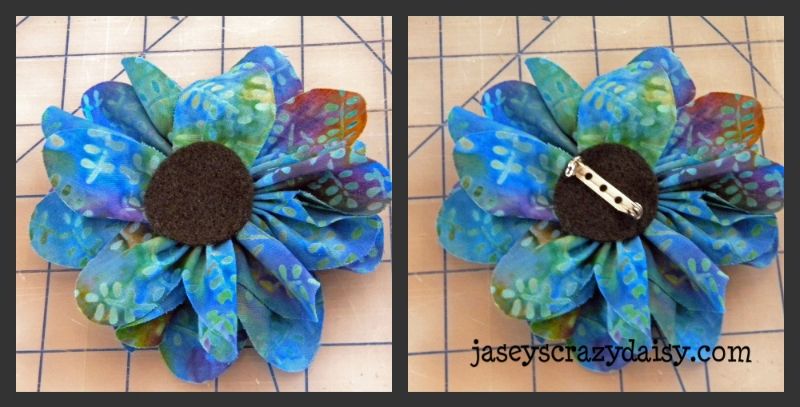
7. Finish. Cut a small circle of felt and glue on the back over the center to hide your stitches or glue mess and to anchor things down. You can attach a broach clip, headband, or alligator clip, depending on how you want to use your flowers. You could even glue or stitch them directly onto a bag or other project.
Was this tutorial helpful? If you have any questions, let me know. Hopefully, you can follow my directions. I would love to know how you plan on using your flowers and even seeing your finished projects. Leave me a comment, or even a link sharing your ideas. Enjoy your new flowers!
PS - This is the kind of glue that I like to use.
Participating in the Summertime challenge at
I share my ideas with these parties!


No comments:
Post a Comment