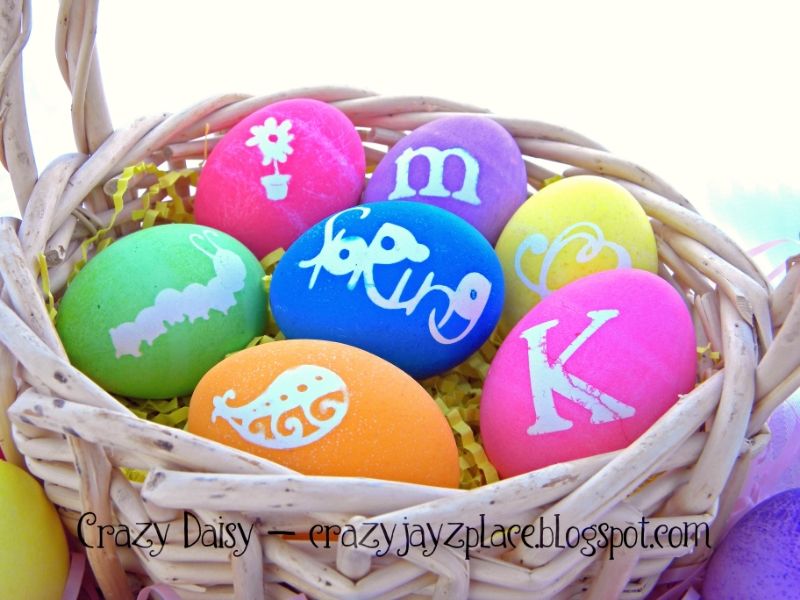
I have been so excited to share these with you! Aren't they fabulous?!?! I love them! Who knew you could use vinyl to dye eggs? I especially love them because you can create so many different styles~ eggs with monograms, whimsical pictures, classic scrolls and other designs, really there are no limits! After I figured out the trick to coloring eggs with vinyl, it turned out to be pretty easy (but there were a few moments of frustration before I figured it out). If you want to make some for yourself, I'll share the secret.
Directions
First, cut vinyl images, using your preferred method. This project is perfect for using scrap vinyl leftover from other projects~ color doesn't matter because you will peel it off. You want to size your images so they are 1.5 -2 inch squares or rectangles. Anywhere in that range should work. If you go much smaller, your crafty cutter might have trouble cutting all the details in the more intricate designs. If you go bigger, you may have troubles getting the image to adhere to your eggs.
Prepare dye as directed on package and line your working surface with paper towels.
Once everything is ready to go, boil eggs as normal. When they are finished, gently place them in a colindar. As soon as the eggs are cool enough to handle, start applying vinyl. Make sure the eggs are completely dry first. If not, just wipe them off with a dish towel or paper towel. This is where the secret comes in~ the trick is to use warm eggs, the warmer the better. The heat semi-melts the plastic to the eggs and seals off the images so that they dye doesn't seep in and the images remain white. I started as soon as I could bear touching them. When they are hot, they really grab the vinyl so you have to really think about where you want to place the image and it's orientation, because once they come into contact, you won't be able to reposition very easily. The heat also helps because if the image has a bubble or bunches up, you can just use your finger to press the vinyl down and it will soften and stick right to the egg.
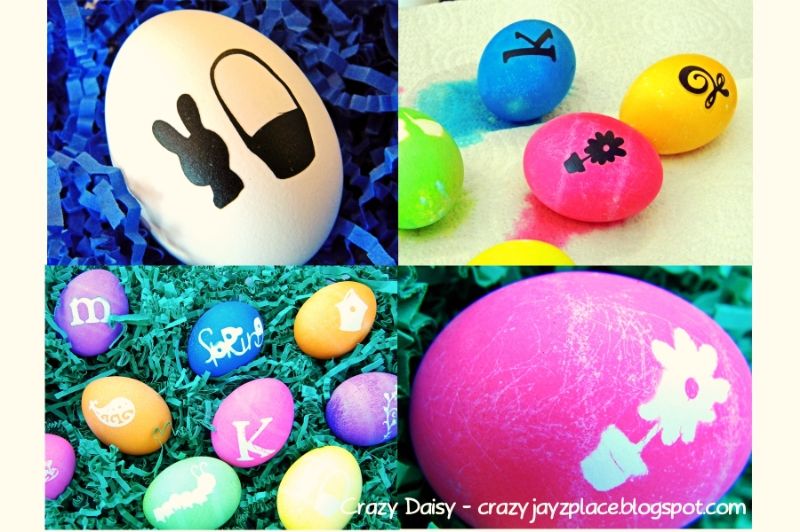
Once the vinyl is applied, color eggs as you always have, placing them on paper towels to dry. You can dye the eggs while they are warm, or let them cool so the kids can do the dipping.
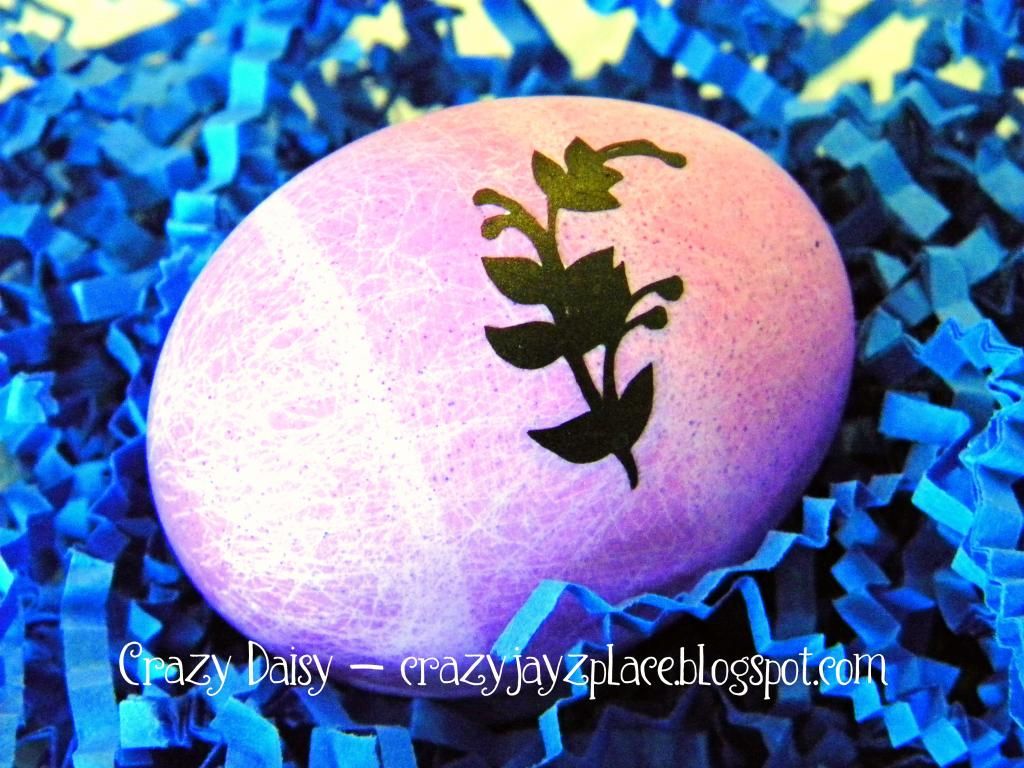
Once the eggs have dried, peel the vinyl off (or not if you you prefer the above look) and admire your beautiful eggs!

Aren't they fun? I think they are simply fabulous! Now have fun, go wild, and dye those eggs! If you are looking for other egg coloring tricks, check out these speckled ones (they are super easy).
I can't wait to see what you come up with!
This project is participating in
I'm sharing this fun idea with {click here}


No comments:
Post a Comment