Monday, March 29, 2010

Tuesday Tastes #1

It's Tuesday! Welcome to the very first Tuesday Tastes Party! I hope you brought something to share from your kitchen! I am sooooo excited!!! Let's get started!


 Don't forget to grab your button - it's kind of like your party favor!


or to vote!


I should mention that everbody is welcome to vote. So, if you're just stopping by to check out everyone's great ideas, please feel free to cast your vote! Here's what the award looks like....


And, if you win, you will also be listed in the Tuesday Taste People's Choice Award Gallery!

***Please remember to grab a Tuesday Tastes Button! If you're not link'd up, you will be disqualified from the People's Choice Award and risk having your link deleted! Besides, who wouldn't want such a cute party  favor?

**People's Choice Award Polls are now closed!**
Thanks for coming by!

Oh, I just found out that Somewhat Simple is featuring my Butterfly Wreath today - on the sidebar. Stop on over and say hello!

SYS Thurs

Photobucket

Sunday, March 28, 2010

Chocolate Mousse Crunch Cake (and a few parfaits too!)

*Recipe by OUR BEST BITES


I wish that I could claim to be the culinary genius behind this fabulous cake, but I can't. Credit belongs to Kate over at Our Best Bites (OBB)! If you haven't ever been over there, you've simply got to check it out (promise to come back to Crazy Daisy once in a while)! Anyways, PURE GENIUS!!! They have amazing tips and recipes and are soooooo very helpful if ever you have any questions! Okay, now that I have given OBB a shout out, and that you have promised to come back, I have to say that I do have a creative twist to add to the recipe...or rather to the leftovers - Chocolate Mousse Crunch Cake Parfaits. Stay with me, you will see where I going.

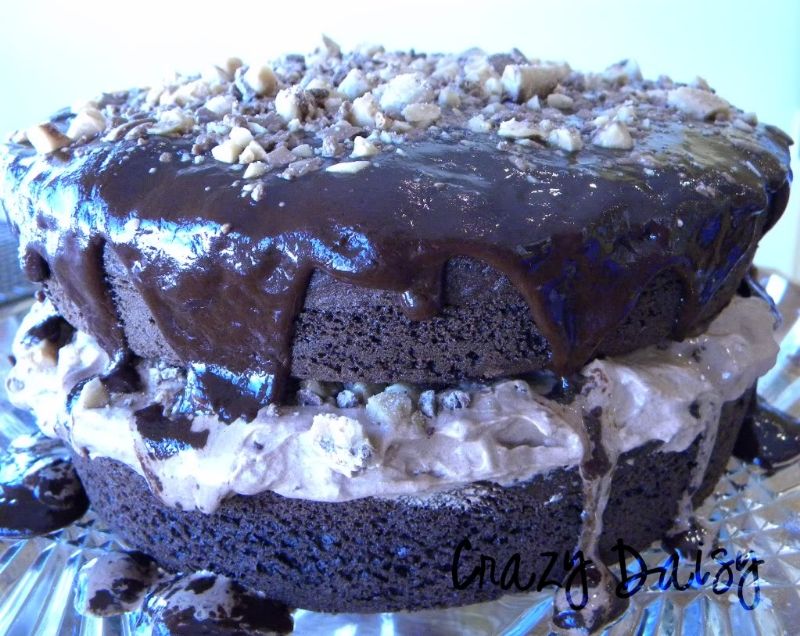
First, you make this glourious cake.

Chocolate Mousse Crunch Cake

1 package Duncan Hines Dark Chocolate Cake (original called for Devil Food's Cake -in my book, it's always better with Dark Chocolate - use what you prefer)
1 recipe (give or take a little) Chocolate Ganache, follow this link for OBB's recipe
Crushed Heath bars or a bag of chocolate-covered Heath bits
1 tsp. unflavored gelatin
1 Tbsp. cold water
2 Tbsp. boiling water (just heat it in a small bowl in your microwave)
1/2 c. sugar
1/4 c. unsweetened cocoa powder
1 c. whipping cream
1 tsp. vanilla

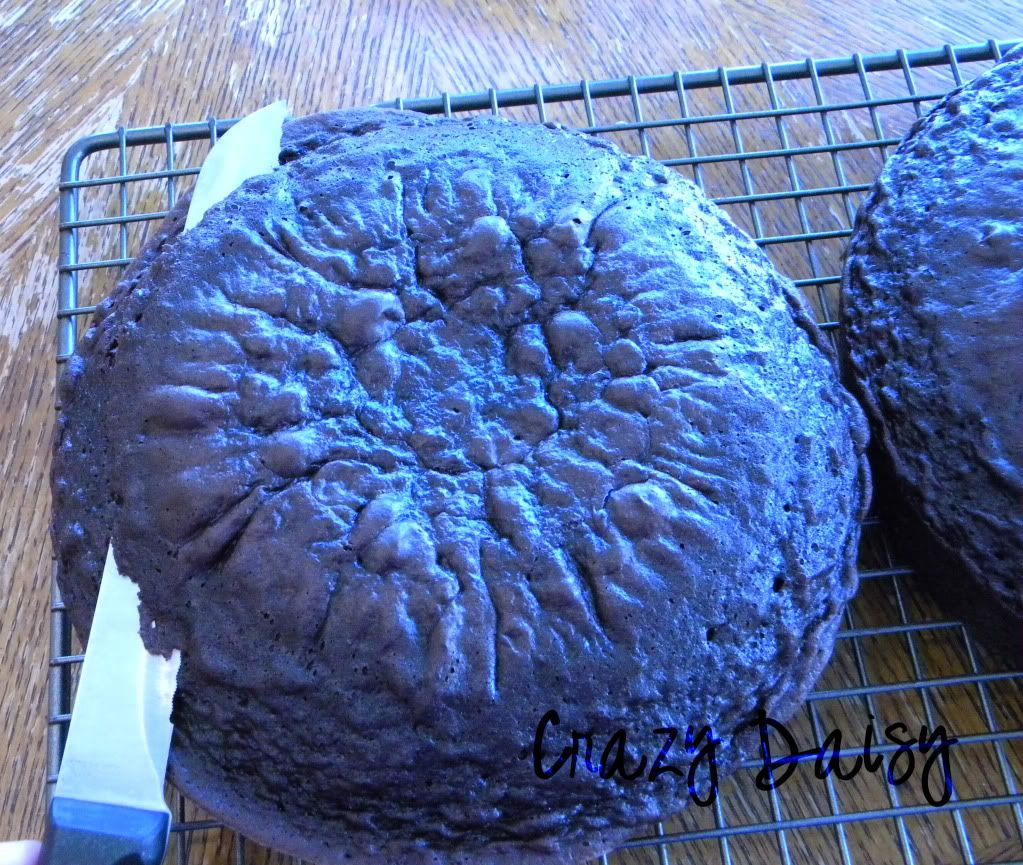
Bake cake according to package directions in 2- 8" round pans.  Cool and set aside.
Combine gelatin and cold water and allow to stand for about 1 minute. While gelatin is softening, bring 2 Tbsp. water to a boil in the microwave (@ 25 seconds in my microwave.) Whisk into softened gelatin and allow to cool slightly.

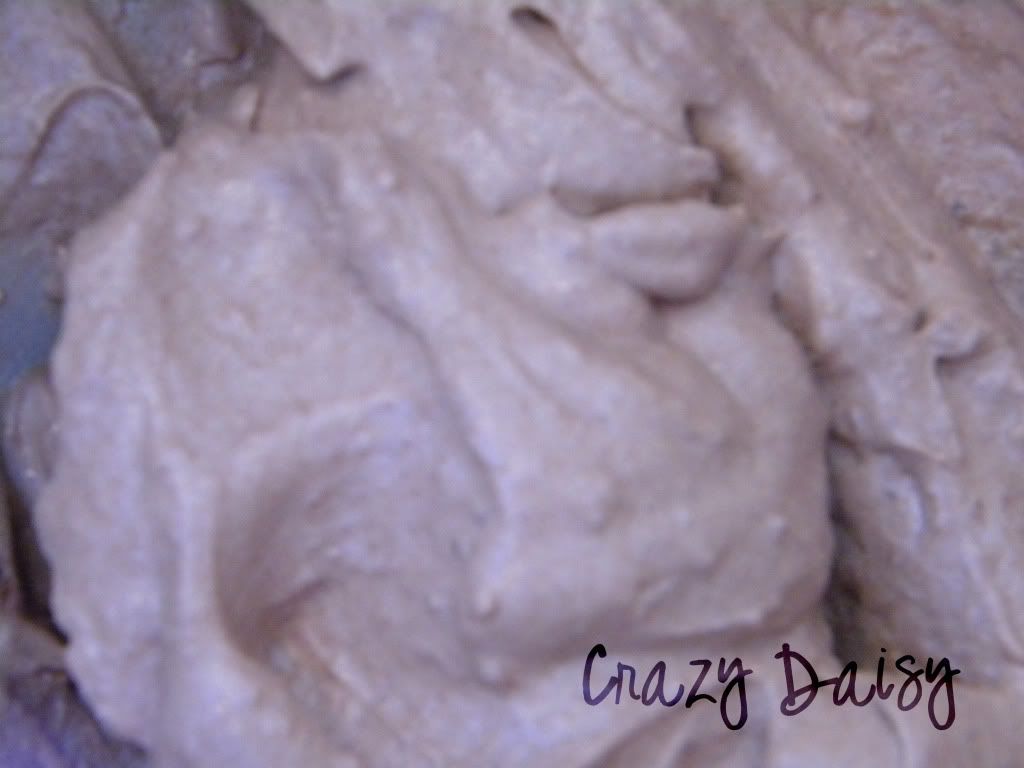
In a medium mixing bowl, combine sugar and cocoa powder. Use a wooden spoon and stir these together really well, until there are no lumps. You may have to use the back of the spoon to break bigger clumps apart. This will help your mousse end up smooth. Now add whipping cream, and vanilla and beat with an electric mixer until medium-stiff peaks form. Pour in gelatin mixture and mix well. Refrigerate for 30 minutes.

Use a serrated knife and the mounds off of the top of your cakes so they are level.


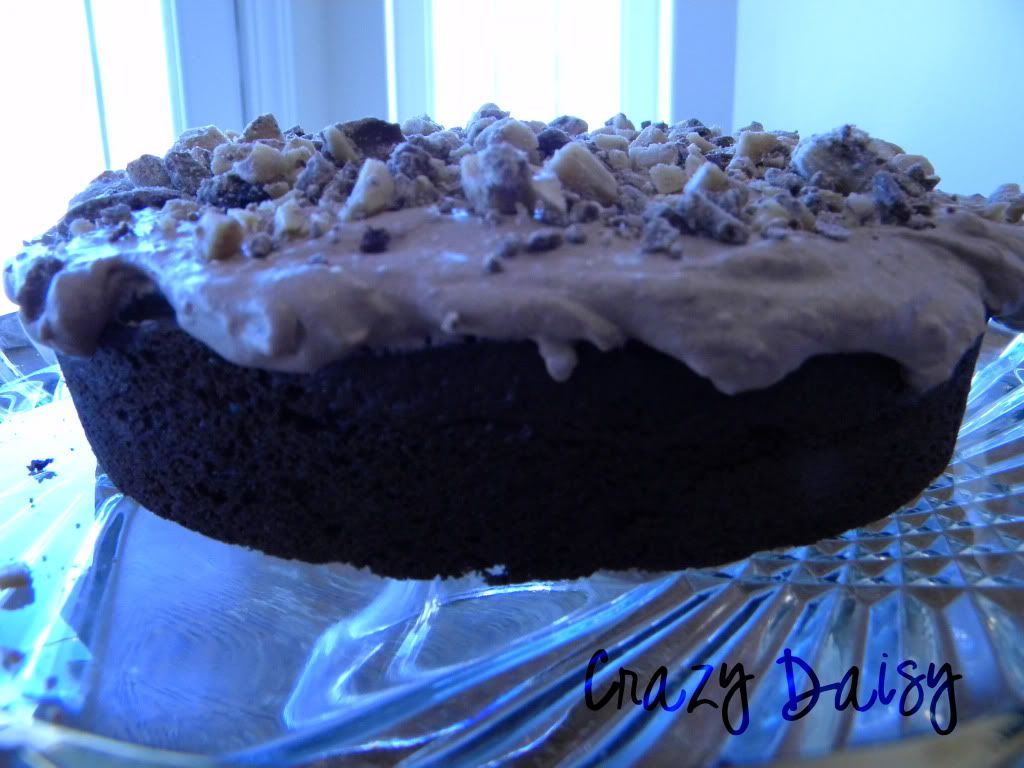
Top with half of the chocolate mousse and sprinkle with some of the crushed Heath Bars.


Place the second cake on top. Drizzle with ganache - let some drip over the edges. It just looks yummy that way. Sprinkle with more of the Heath Bar bits.


Gorgeous!

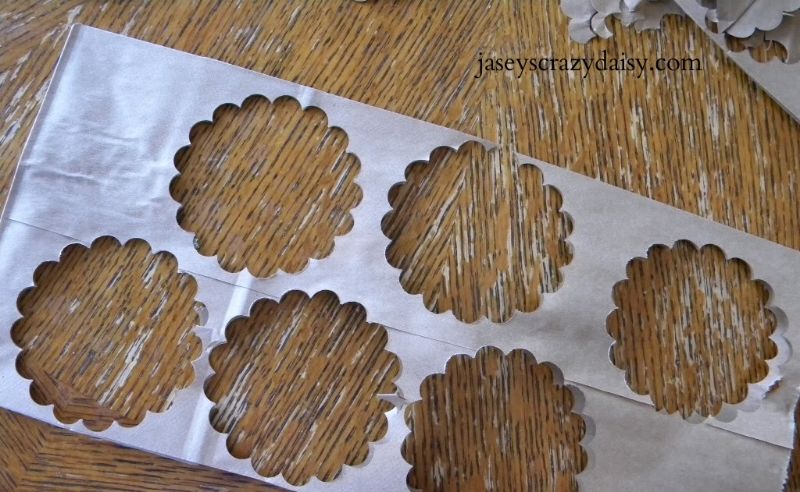
Now here comes my creative twist. Do you remember this?
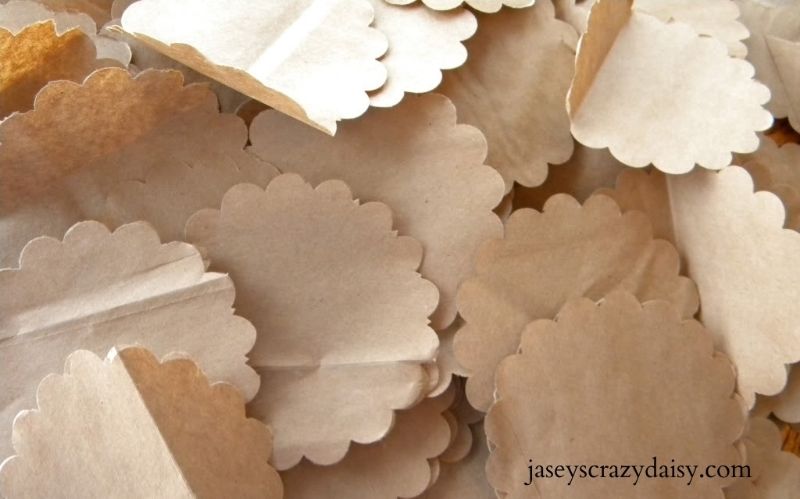


And this?


I also had extra Heath Bar bits, and ganache - and that's when I got the ideas for a mini parfait version of the cake. Soooo easy. Grab a fun little dish. Throw some of your cake scraps in, top with mousse, drizzle with ganache, and sprinkle with crushed Heath Bars! YUMMO!


 I thought of two reasons I really liked this idea. First, wouldn't it be fun to give the birthday boy or girl a fun little mini dessert of their very own? Top it off with a candle and you have a fabulous way to let them know just how wonderful they are (fabulous without the fuss, no one will ever know that you used the leftovers if you don't tell!) And now for the second reason, if you are like me, when you are planning and cooking for a birthday party, you really don't have time to eat, much less enjoy dessert. That's where the parfait comes in. Throw a few together, and hide them in the back of the fridge (did I say that) to enjoy when all the comotion is over and you have a few moments of peace to induldge! Pretty clever, huh?

Don't forget Tuesday Tastes at Crazy Daisy starts this week! Come by and check it out!


HappyDay
 
I'm link'n up with


The Girl Creative

Blessed with Grace


Photobucket

Friday, March 26, 2010

New Friend Friday - A little about me

The Girl Creative is hosting New Friend Friday. A place to make new friends in blogger world. This week, she asked us to  tell something interesting about ourselves... here goes!

The Girl Creative


Well, let's see... I am one of the new kid's on the block in blogger world. I have to say that my blogging adventure has been really fun! I am hosting and Tuesday Tastes Party -a place to share inspiration from your kitchen- and am a little worried I won't have a very good turn out. No one wants to be the girl having a party with no guests! So, if you're around, stop by and link up, or just come browse and cast your vote for the People's Choice Award.

And on a randonm note, I love this quote,

"When I stand before God at the end of my life, I would hope that I would not have a single bit of talent left, and could say, "I used everything you gave me."" Emma Bombeck


Photobucket

Thursday, March 25, 2010

Butterfly Wreath


I absolutely fell in love with this over at MaryJanes and Galoshes and just had to have one. I love how simple, soft, and beautiful it is. Taylor, the creative genius at MJandG, is truly an inspiration! Be sure to go on over and visit. I  promise, you will find at least one thing you simply must try.

Now back to the Butterfly Wreath... isn't it pretty? AND you will NEVER EVER guess what it is made of! Ready?


Brown lunch sacks! Who would have known brown paper bags could transform into something so amazing (and so CHEAP)?

If you want one, you will need:

Brown lunch bags
Hot glue gun
Unsharpened pencil
Foam wreath form
Scalloped circle punch

Start punching! I used a lot of scalloped circles. Way more than Taylor over at MJandG's. I think I placed my lunch bag daisies a little more tightly together, thus the need for more. I am sure you'll figure out what look works for you as you get going. I found those round white frosting containers, with the little red lids work perfectly for keeping your paper daisies organized and in one spot while you work on your project - not that I ever buy frosting (HA!). It was helpful to have them contained so I could put them away inbetween work sessions and didn't end up with them all over the floor.


After you have a pretty good stack of daisies, wrap one around the unsharpened end of a pencil, dab with hot glue, and gently push it into the wreath. Like this...

*Images from MJandG 

Keep going until you end up with this...

*Image from MJandG

Can you imagine the possibilities at this point? I followed suit with butterflies, even blue, because I already have a blue flutterbly bathroom. But wouldn't green or lavender be gorgeous? Think... satin riboon. Hmmm, I may be making another one of these!

If you want to use butterflies, MJ&G has a wonderful template that I used to make mine. I used cardstock so they would hold their fluttering shape. Now, trace, cut, bend, and glue, and you are finished!

*Images by MJandG
What more can I say?


This project is participating in
Visit thecsiproject.com


giveaways

SYS Thurs


Funky Junk's Saturday Nite Special


Photobucket

Photobucket

Tuesday Tastes - Party Details


Get ready to Party! It's called Tuesday Tastes and it's a place to share inspiration from your kitchen.


This is what the Tuesday Taste button looks like. You will be able to grab it from the sidebar.


What about the People's Choice Award?


Here's what the award looks like... won't that look great on your blog?


If you don't want to link up, we'd still love to have you cast your vote for the People's Choice Award!


Doesn't that sound like fun? See you Tuesday!
Photobucket

Tuesday, March 23, 2010

Tuesday Tastes @ Crazy Daisy


Get ready to party!!! Tuesday Tastes starts next Tuesday, March 30, 2010! Round up one of your favorite recipes and come on over to link up! Stop by and share something with us from your kitchen! And if you don't have your own blog, you'd still better be here - cast your vote for the People's Choice Award! The party just won't be the same without you! Stay tuned for more details! See you Tuesday!!!

Photobucket

Monday, March 22, 2010

Cool Mint Oreo Truffles


If the Orignal Oreo Truffles weren't enough to make you drool, maybe these will? They are made with one of my favorite combinations! Who doesn't like mint and chocolate? And they are just as easy as the originals because you use these cookies:


Cool Mint Oreo Truffles

1 pkg. crushed Cool Mint Oreos (These have more filling and so you need the entire bag instead of only two rows of cookies as with the Original Oreo Truffles)
1-8 oz. pkg cream cheese, softened
1-24 oz. pkg. semisweet chocolate chips

*Note: You need the entire Oreo Cookie, creme and all, not just the cookie. They can be crused using a food processor, or by placing them in a gallon-sized baggie and rolling over them with a rolling pin. They need to be crushed fine, almost like sand.


On dipping: I used semi-sweet chocolate chips because I prefer darker chocolate. However, Candy Melts can be used for dipping which offers a variety of different flavor and color choices. I imagine white chocolate would be pretty yummy!

Mix cookie crumbs with softened cream cheese. Use a wooden spatula to press the cookies into the cream cheese. Every once in a while give them a good stir. When everything is all mized together, use a small cookie scoop to make 1-inch balls. Put them onto wax paper sprayed with cooking spray and then into the freezer to make dipping easier. When firm, melt around a cup of chocolate chips in a bowl by heating for 30 second intervals and stirring in between. When the chocolate is smooth, start the dipping process by removing 10-12 truffles from the freezer at time. I found it easiset to drop the truffles into the bowl of melted chocolate spooning the chocolate over the top.Use a fork to scoop them out and the back of a spoon to smooth and spread the chocolate as needed. Tap the excess chocolate off and place truffles on prepared wax paper. Now top them off. I melted some white chocolate in a sandwhich bag, snipped off the corner, gave them a little drizzle. At this point, you can put them in the fridge to set, or if you are in a hurry, or less patient like me, the freezer is faster.

*Follow this link for dipping pictures.

Now, if they only made Cherry Oreos, or wait -  even better, Peanut Butter!

Link'n up with:


ASPTL


Blessed with Grace


giveaways

Photobucket