Showing posts with label Holidays. Show all posts

Monday, September 26, 2011

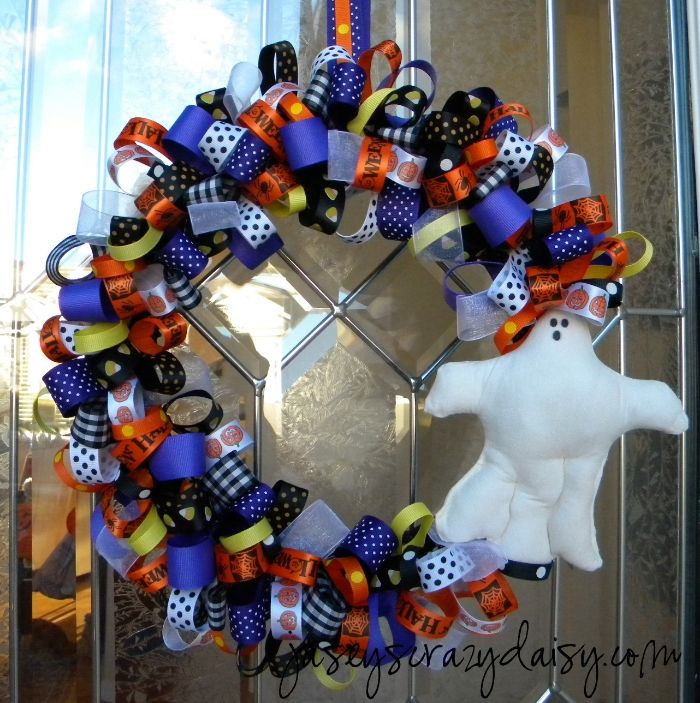
Halloween Ghost Ribbon Wreath


It's starting to get a little spooky around here. Fun spooky, don't you think?! Interested in a making a ribbon wreath yourself? Click here for a tutorial.
Photobucket


Enter your email address:


Delivered by FeedBurner

Monday, March 28, 2011

How To Make Beautiful Personalized Vinyl-Dyed Easter Eggs {Egg Tutorial No. 2}


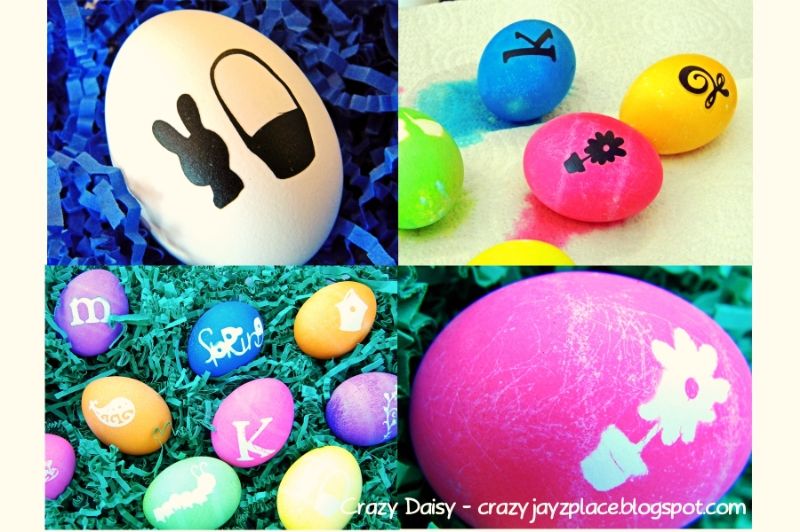
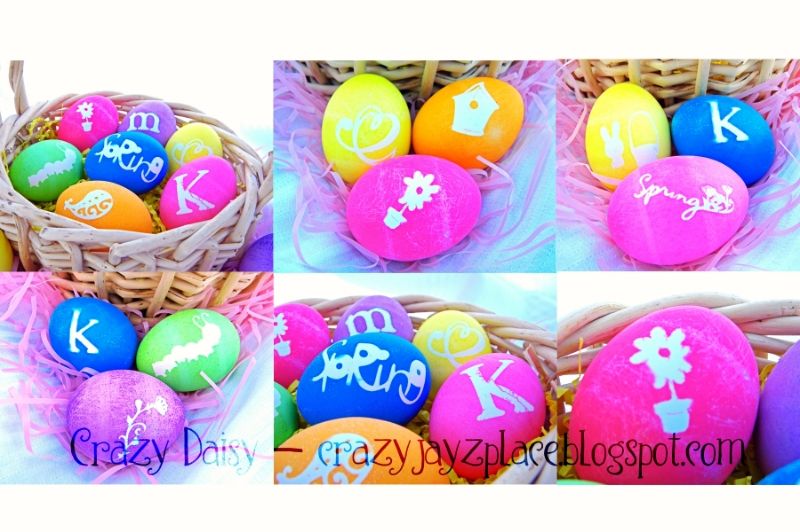
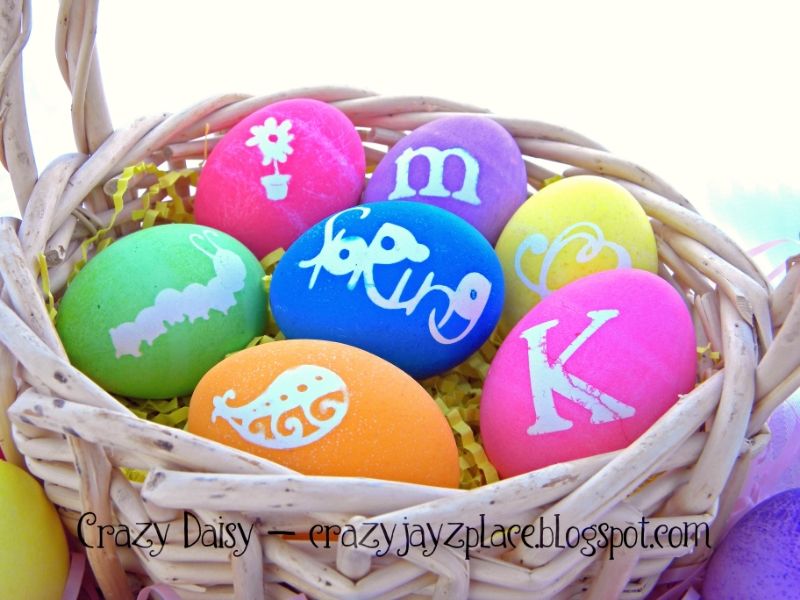
I have been so excited to share these with you! Aren't they fabulous?!?! I love them! Who knew you could use vinyl to dye eggs? I especially love them because you can create so many different styles~ eggs with monograms, whimsical pictures, classic scrolls and other designs, really there are no limits! After I figured out the trick to coloring eggs with vinyl, it turned out to be pretty easy (but there were a few moments of frustration before I figured it out). If you want to make some for yourself, I'll share the secret.

Directions
First, cut vinyl images, using your preferred method. This project is perfect for using scrap vinyl leftover from other projects~ color doesn't matter because you will peel it off. You want to size your images so they are 1.5 -2 inch squares or rectangles. Anywhere in that range should work. If you go much smaller, your crafty cutter might have trouble cutting all the details in the more intricate designs. If you go bigger, you may have troubles getting the image to adhere to your eggs. 

Prepare dye as directed on package and line your working surface with paper towels.

Once everything is ready to go, boil eggs as normal. When they are finished, gently place them in a colindar. As soon as the eggs are cool enough to handle, start applying vinyl. Make sure the eggs are completely dry first. If not, just wipe them off with a dish towel or paper towel. This is where the secret comes in~ the trick is to use warm eggs, the warmer the better. The heat semi-melts the plastic to the eggs and seals off the images so that they dye doesn't seep in and the images remain white. I started as soon as I could bear touching them. When they are hot, they really grab the vinyl so you have to really think about where you want to place the image and it's orientation, because once they come into contact, you won't be able to reposition very easily. The heat also helps because if the image has a bubble or bunches up, you can just use your finger to press the vinyl down and it will soften and stick right to the egg. 


Once the vinyl is applied, color eggs as you always have, placing them on paper towels to dry. You can dye the eggs while they are warm, or let them cool so the kids can do the dipping.


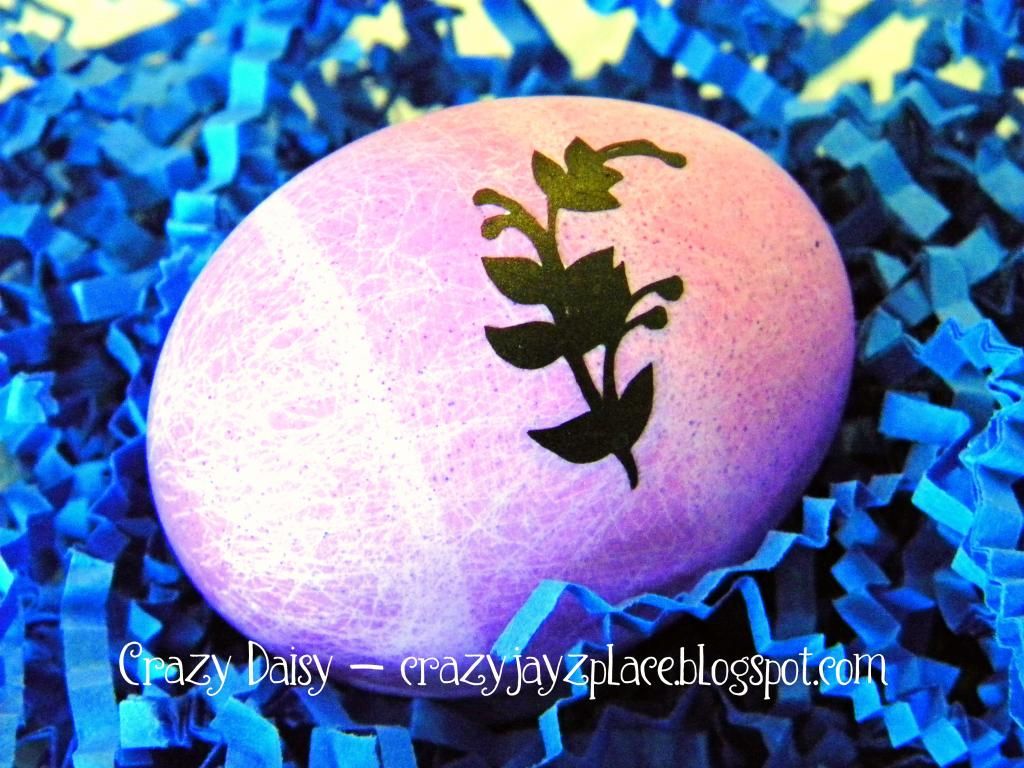
Once the eggs have dried, peel the vinyl off (or not if you you prefer the above look) and admire your beautiful eggs!
Aren't they fun? I think they are simply fabulous! Now have fun, go wild, and dye those eggs! If you are looking for other egg coloring tricks, check out these speckled ones (they are super easy).
I can't wait to see what you come up with! 

This project is participating in
Visit thecsiproject.com

I'm sharing this fun idea with {click here}
UndertheTableandDreaming
Photobucket


Funky Junk's Saturday Nite Special

Weekend Bloggy Reading

Join  us Saturdays at tatertotsandjello.com for the weekend wrap   up           party!


Photobucket
Enter your email address:


Delivered by FeedBurner

Wednesday, March 23, 2011

Would You Like To Make Speckled Easter Eggs? {Tutorial No. 1}


The Bunny's already hopping around preparing for his big day! He's filled his basket with all sorts of Easter treats, chocolate bunnies, jelly beans, little trinkets and toys, and of course, colorful eggs. He's going to be so jealous when he sees these~ aren't they fabulous!?! I saw them in Phyllis Hoffman's Celebrate magazine, (no link available) and had to try making them myself. Basically, I followed their directions, but I found some tips along the way that made the process a little easier, and a lot less messy. Here's what you'll need to do {again, sorry I don't have step-by-step pictures, but that whole lefty thing just doesn't work very well when trying to take pictures with a camera made for righties while using colored dye and vegetable oil at the same time. What can I say, I feared for my camera's life... }:

Procedure
 First, boil your eggs as normal. Drain and cool. When you are ready to start coloring your eggs, line your working space with paper towels. Mix your dye as directed on the package and ADD about 1 tablespoon of vegetable oil to each container of dye. Using a spoon or fork, swirl the dye and dip the egg into the color. Gently lift it in and out a few times to disperse the dye. Let it sit until you are happy with the coloring and remove it from the dye, holding it over the cup for a moment to let the excess liquid drip off. Set your egg on the paper towels to dry. My eggs didn't ever look completely dry so I waited until the color had set, and either rolled the eggs around on the paper towels, or wiped them off with one, to get rid of the extra oil. Now, repeat with as many colors as you want. Your eggs should end up looking like these...


Happy Egg Coloring! 
If you're loving these eggs, 
you don't want to miss whats coming up! 
Click here for more Easter egg fun...


This project is participating in
Visit thecsiproject.com
I'm sharing this idea with {click here}


Photobucket


Funky Junk's Sat Nite Special


Weekend Bloggy Reading


UndertheTableandDreaming


Photobucket
Enter your email address:


Delivered by FeedBurner

Monday, March 14, 2011

Leprechaun Crossing {They are really sneaky!!!}


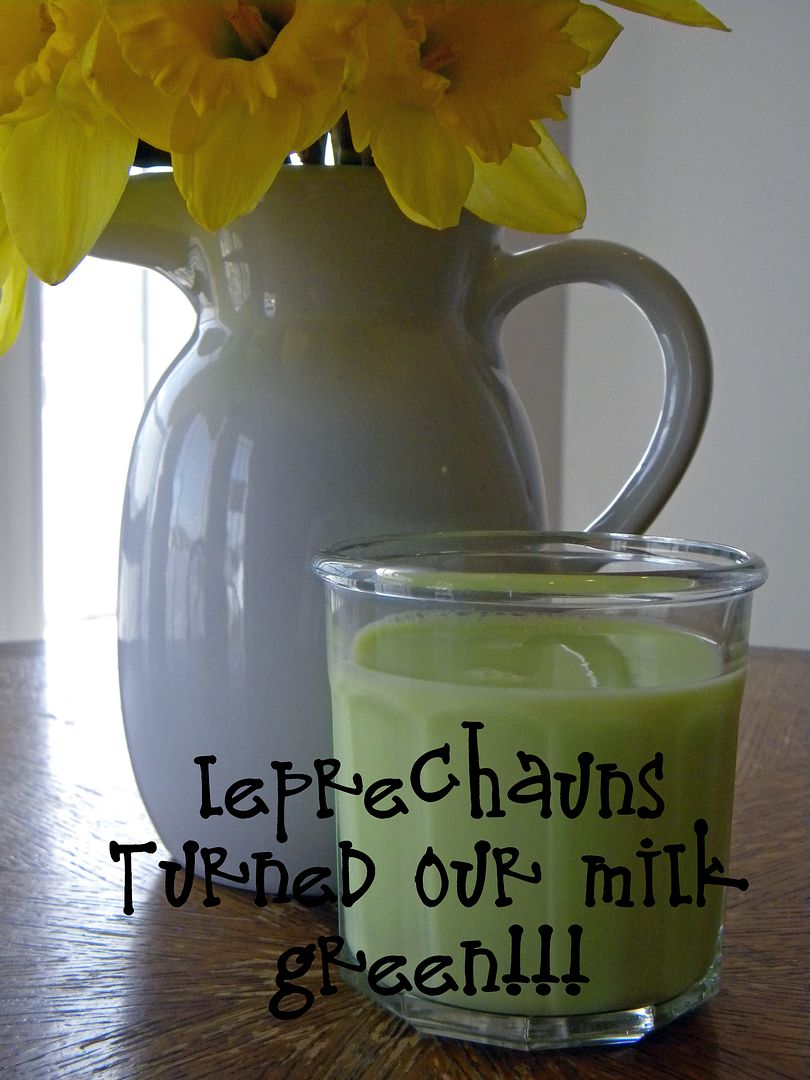
Are you ready? Last year, our house was a regular Leprechaun Crossing. We tried to catch them with our Leprechaun Traps, but they escaped, taking most of our gold bait with them. They did leave us with some chocolate gold coins, instead. I guess it's their way of trading. When we were eating breakfast we discovered those little green tricksters turned our milk green! When my son arrived at preschool, his classroom had been turned upside down and everything was in the wrong place - TRICKY! At least we didn't have green toilet water like our friends... We are not sure what to expect this year, but we are busy getting our traps ready! Hopefully we catch one. We will let you know if we do! 
What is your experience with leprechauns? Do you have any Saint Patrick's Day traditions? 

PS - I am going to surprise my kids with Leprechaun Pie on St. Patrick's Day. It looks fabulous. Click here to check it out!
Image by Oopsey Daisy
Photobucket
Enter your email address:


Delivered by FeedBurner

Monday, March 7, 2011

Leprechaun Traps


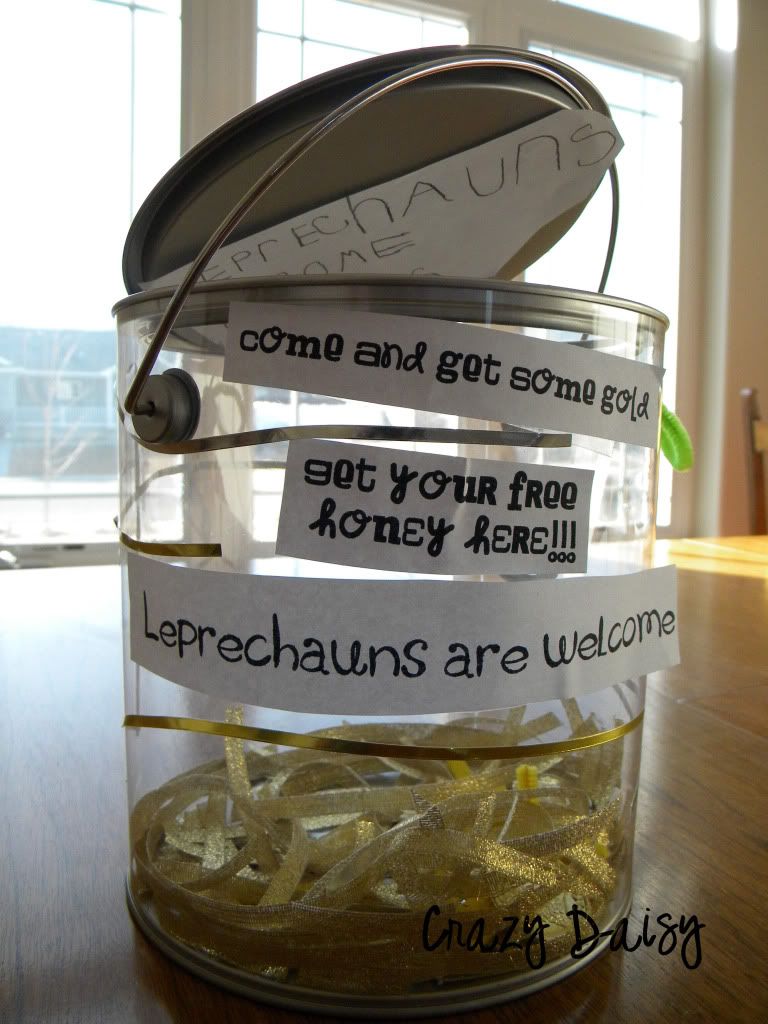
It's time to get those traps ready!!!! Did you know leprechauns come out once a year to steal gold from your house to fill their pots with? That's right, March 17th, they sneak in to see if there is some shiny gold laying around that they can build their own collection with. How else would they ever have enough gold to fill the pot they hide at the end of the rainbow?  Legend has it, that a leprechaun who is caught honest and fair, will surrender his treasure as a bribe for his release. So, my boys try every year to catch those little green men with a special trap that they build. Those silly leprechauns manage to slip away every year, but every year we try again! Even though we haven't caught one yet, we are getting closer. We have learned a few things along the way that might just help us trick them yet! Here's what we know: 

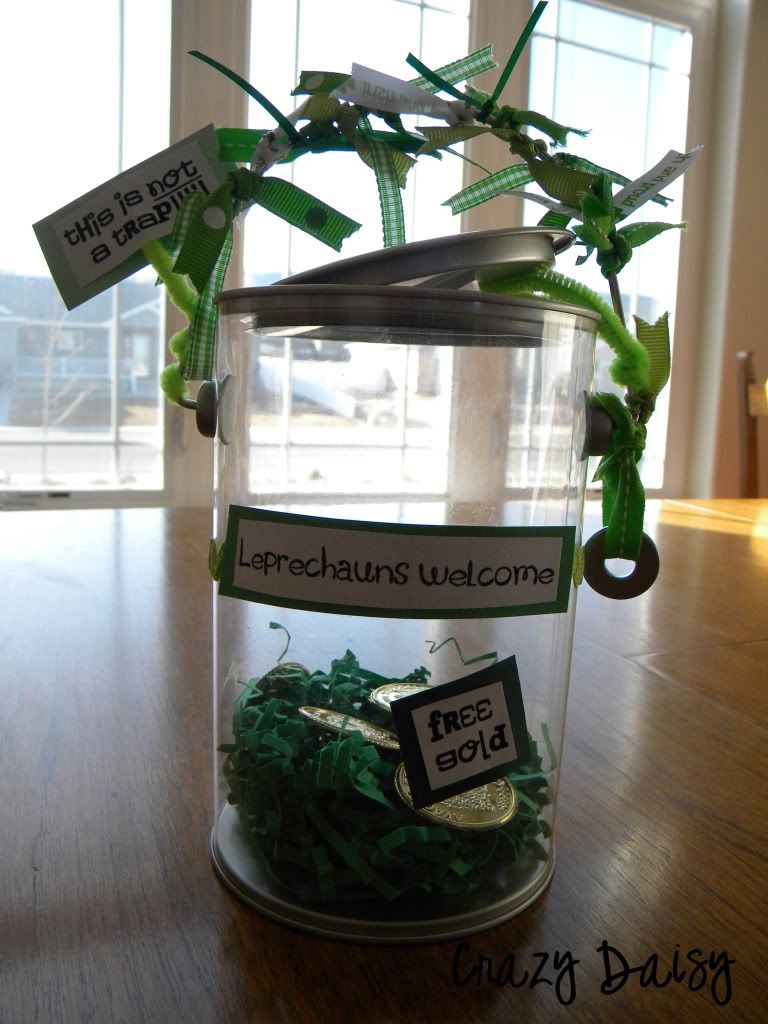
First -  Leprechauns love GREEN! In order to lure them to your trap, you must use green. It reminds them of the rolling green hills from their Ireland home that is so far away!

Second - Leprechauns are pretty CLEVER, so you have to be tricky. We like to hang signs that say things like, "Leprechauns Welcome" or "This is not a trap!" We have even tried to make ours look like a little Leprechaun home.

Third - Just like any magical creature, leprechauns love sweets. So leave a treat of some kind. We like to leave a little crumb of bread with honey. Really anything sweet works, but you know how much the little green men like gold things, so honey seems to be a good choice.

Fourth - you must make your trap. There is something about a trap from the store that tips them off. They seem to smell those traps from miles away. They won't even get close. And every trap has to be differentor else they get suspicious! Anything you make works though! Try Legos, shoe boxes, oatmeal cartons, nets... anything! How will you trap yours?

Fifth - BAIT! You have to leave bait. What do you use for bait? Why GOLD, of course!  Again, anything seems to work.  The shinier the better! We have tried pennies, gold ribbon, sprinkles, honey, confetti... be careful though! Don't use anything very valuable because, if that rascally leprechaun escapes, and chances are he will, he just might take your beautiful golden bait with him! Now, we have been lucky and our leprechaun has always left chocolate gold as a treat for us (even though they are tricky, a leprechaun is honest and fair and won't take your gold without leaving something to trade with.) We have found gold wrapped coins, rolos, and even peanut butter cups. I have been told they sometimes leave a trail of green glitter or gold dust. And one year, he even left a tiny green footprint behind with a note that said, "Ha! Ha! Fooled you again!" 


This is what  our traps looked like last year


We are busy making our new traps, we'll keep you posted. 


Maybe this will be our year!


Do you have any fun St. Patty Day traditions? We'd love to hear about them!


I'm sharing this idea with
Weekend Bloggy Reading
Join  us Saturdays at tatertotsandjello.com for the weekend wrap   up           party!


Photobucket
Enter your email address:


Delivered by FeedBurner

Tuesday, January 25, 2011

Valentine Stockings & Stuffer Ideas


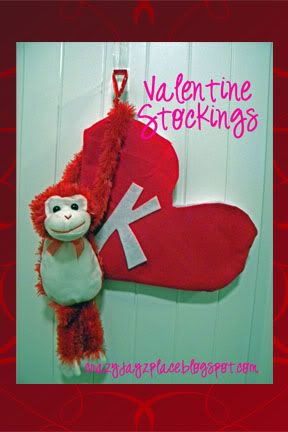
Do you have Valentine Stockings? We do, and my kiddos love them! Ours are pretty simple, I just sewed two felt hearts together, turned them inside out, glued felt initials on them, attached a little ribbon loop, and hung them from wreath hangers on our bedroom doors. I live in a house of boys, and so this is as fancy as they would tolerate - but had I had girls under my roof I could see letting them decorating them with felt flowers and hearts, gems, ribbons, buttons, and lace. And, I suppose anything would work - even decorating and hanging manila envelopes. The point is to have something accessible to trade notes, cards, and small treats with. This year, I even found these cute monkeys at the dollar store to hang with the stockings for a surprise. My kids have a blast getting paper, crayons, scissors, and glue out making notes and cards to surprise everyone with. Sometimes, we leave thank yous when someone has helped us, and sometimes the mood just strikes and we want to share our love. Sometimes I sneak little treats, a sucker, or snack size candy bar in for a little sweet fun! And lately, I have found so many wonderful free printables out there, I have been using them as stuffers as well. Here are some I thought I would share with you. Make sure to say hello for me when you go visiting!


Wouldn't it be fun to print a bunch and keep them in a basket for everyone to share at will? I think that is on my agenda next!

PS - Did you notice the funtastic giveaways listed on the top of my blog? Be sure to check them out!

I'm sharing this idea with
Visit thecsiproject.com


Photobucket
Enter your email address:


Delivered by FeedBurner

Friday, December 17, 2010

It's A Wrap.... A Few Holiday Gift Ideas For You - 2010

Christmas is coming, are you ready? Or are you still looking for some holiday gifts to give your friends, neighbors, and/or colleagues? Here are a few ideas you might want to consider, who knows, maybe you will find a new favorite!

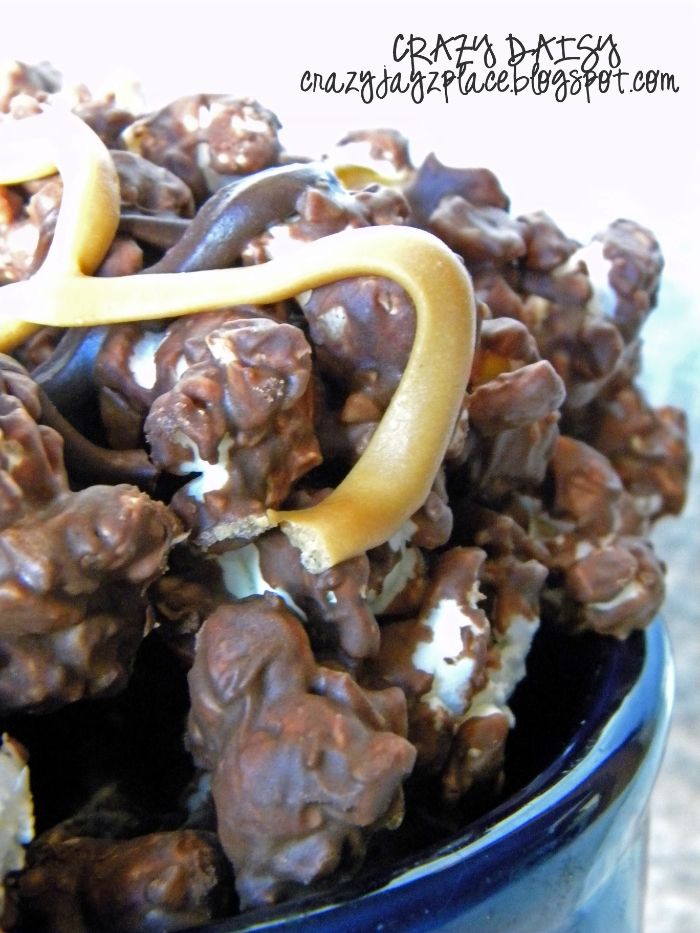
Who doesn't love gourmet popcorn? This chocolate toffee version is easy to make and fun to wrap in treat bags/boxes!

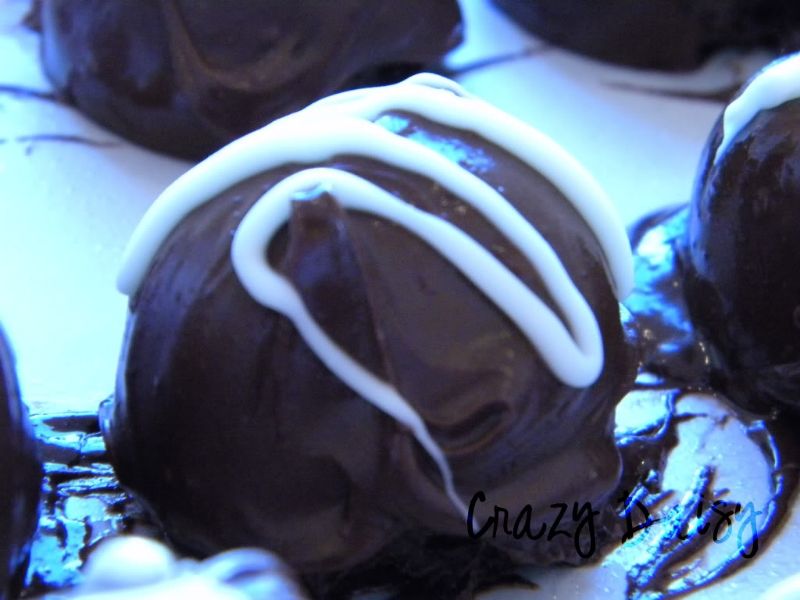
If you ask me, this is the perfect flavor combination! But, if you don't like mint, you could always skip it and make the following regular Oreo Truffles!

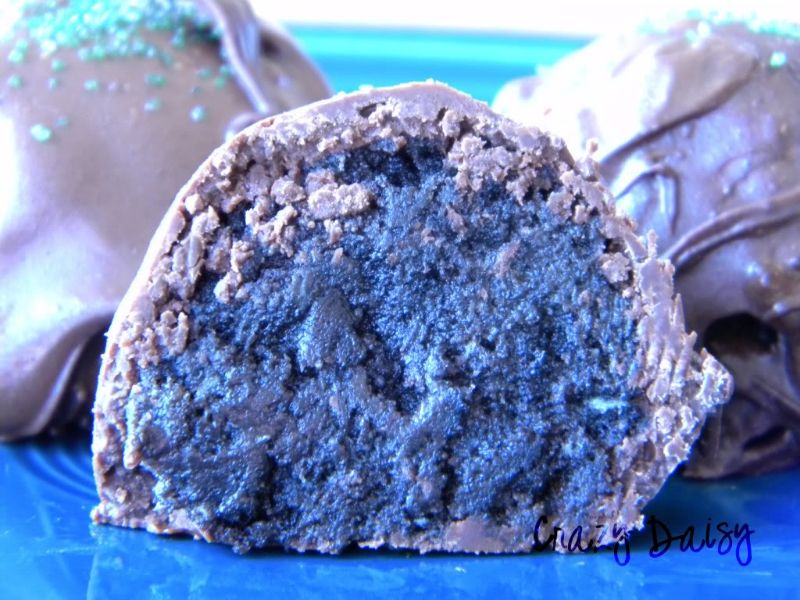
Do you have an Oreo lover on your list? They will adore you for making them some of these!

This recipe is quick to make and EVERYBODY loves it! 

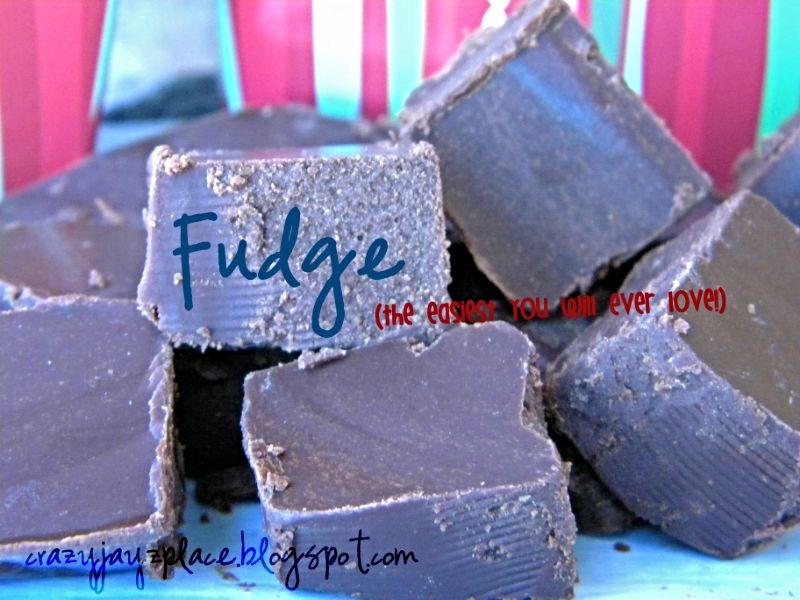
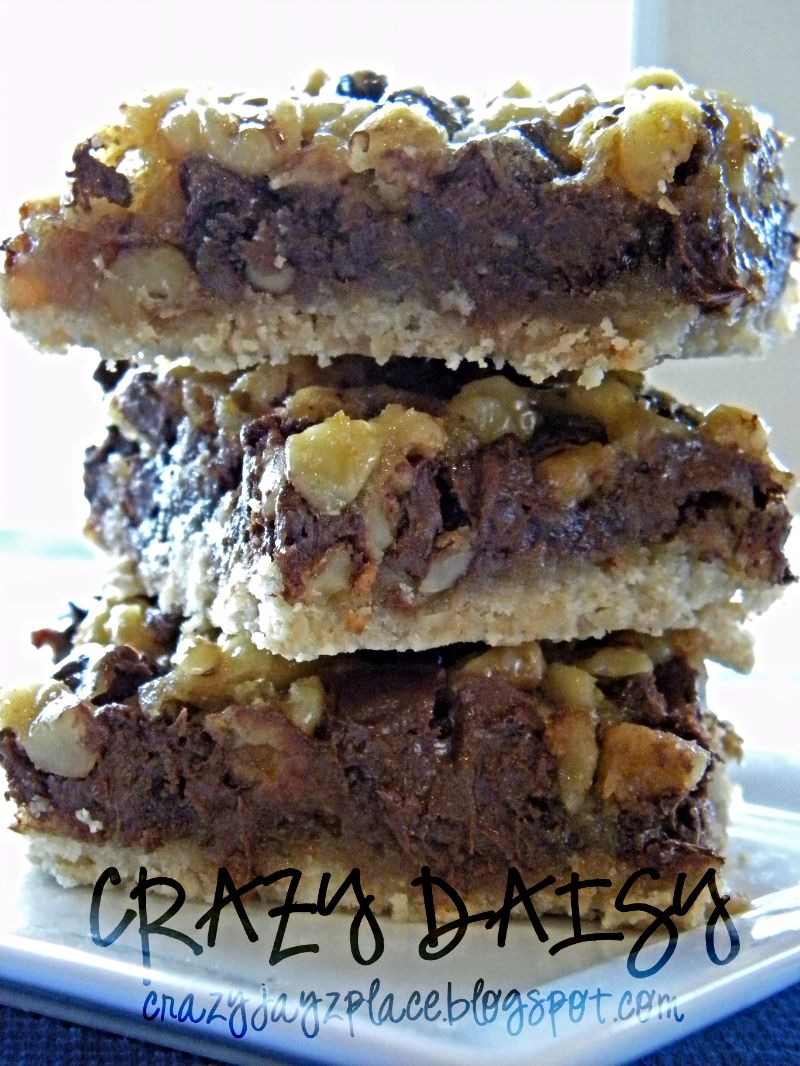
Who doesn't love fudge? And I promise, it just doesn't get easier than this!

One of my favorite treats - EVER! If not for Christmas treats, come back and try these sometime!

Imagine this fun cake with red and green M&M's decorated as a wreath! Too much fun!

Looking for something on the healthier side? Why not add a jar of this amazing dip to a fruit platter? Caramel Apple Dip would be another great choice as well!

 
I just had to share my dad's favorite Christmas cookie! These no bake treats are so tasty! 

Sweet, chewy... heaven. Who wouldn't like a treat bag filled with this delightful Chex mix tied in a bright bow?

Grab your favorite pancake mix, add a jar of this amazing homemade syrup, wrap it pretty, add some ribbon and you are set to go! 

And last, but not least, a little something different. This fun cinnamon applesauce features the warm flavors of the season. Yummy served warmed, or cold, give it a try. I don't think you'll be sorry!

I have to wonder what are your favorite gifts to give or receive?

Merry Christmas!
Join  us Saturdays at tatertotsandjello.com for the weekend wrap up     party!

Photobucket
Enter your email address:


Delivered by FeedBurner