It's starting to get a little spooky around here. Fun spooky, don't you think?! Interested in a making a ribbon wreath yourself? Click here for a tutorial.
Showing posts with label Wreaths. Show all posts
Monday, September 26, 2011
Friday, April 1, 2011
Burlap Initial Wreath
Hello friends, today I shared a tutorial on how to make this burlap letter wreath that I made for my front door. To see more, click here.
What do you think? Do you like it?
Monday, March 14, 2011
Nest {Framed Vinyl Glass Project And New Mantle Decor}
I have always been intrigued with vinyl cutters and all the beautiful projects they have the potential to create. Guess what I received for Christmas? Yep, my very own Cricut machine. And this is my very first project! I was inspired by these pillows and love how my glass version turned out. What do you think? I didn't take step-by-step pictures because I am a lefty -which doesn't lend itself very well to taking pictures with spray paint and glue in the other hand. But, I will tell you how to create a similar project.
1. Find a frame (mine is @10x13 in.) that needs a fresh new look and set the glass aside in a safe place. Paint it. I used Krylon brand, color Jade. I painted the back and inside grooves with several coats and when the last coat was dry, flipped to the front and gave it several coats.
2. When the frame was completely dry, I used Cricut Studio Design software to create my nest definition design and cut it using black vinyl. Use your preferred cutting method.
3. Clean glass and apply vinyl carefully centering it as desired.
4. Carefully glue glass into frame. Let me introduce you to my new best friend, E6000. I applied it inside the frame's groove and carefully placed the glass inside. Make sure the glass is oriented correct before you place it on the glue. It would be terrible to glue it backwards! Very gently press edges to seal. Let sit until dry.
*Note - This glue is amazing. I had never used it before and was scared to death it would run and ruin everything. It did run in a couple of places, but it rubbed right off after it dried. WHEW!
5. Find a home for your beautiful project. Which leads us to this wreath, which I intended to hang in my bathroom,
And these memory jars, including shells we collected on the beaches of Seattle, driftwood from the lake by our cabin, and other nature things from our adventures last summer,
and, finally my new mantle decor!
I haven't been happy with my mantle since we moved in - until now anyways. I LOVE it! I am tickled to have found the perfect way to welcome spring! It is my new happy place! Now, if only the rest of my house looked this good!
PS - If you are looking for some fun business cards for your etsy store or blog, check back on Monday for chance to win some!!!


Thursday, March 25, 2010
Butterfly Wreath
I absolutely fell in love with this over at MaryJanes and Galoshes and just had to have one. I love how simple, soft, and beautiful it is. Taylor, the creative genius at MJandG, is truly an inspiration! Be sure to go on over and visit. I promise, you will find at least one thing you simply must try.
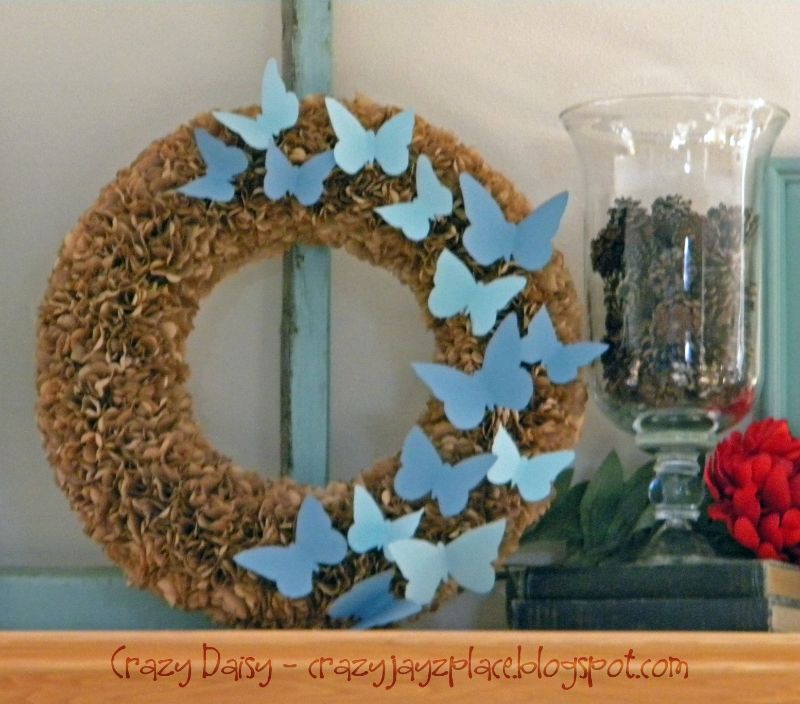
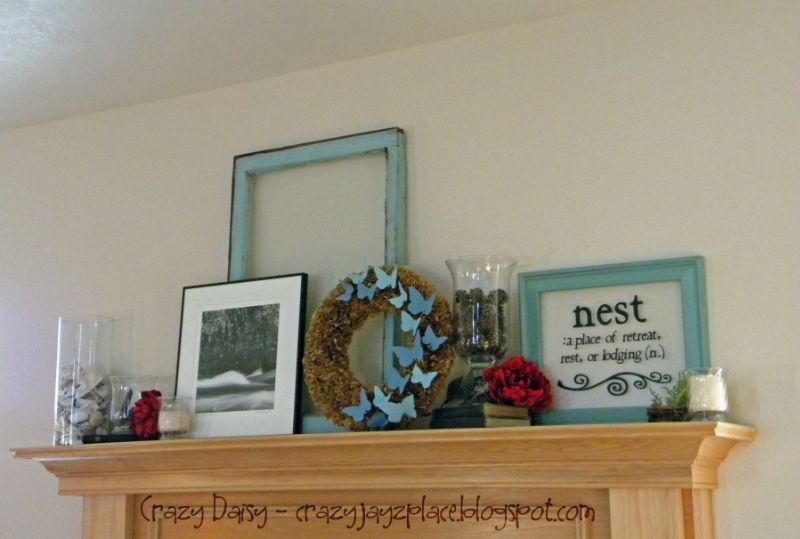
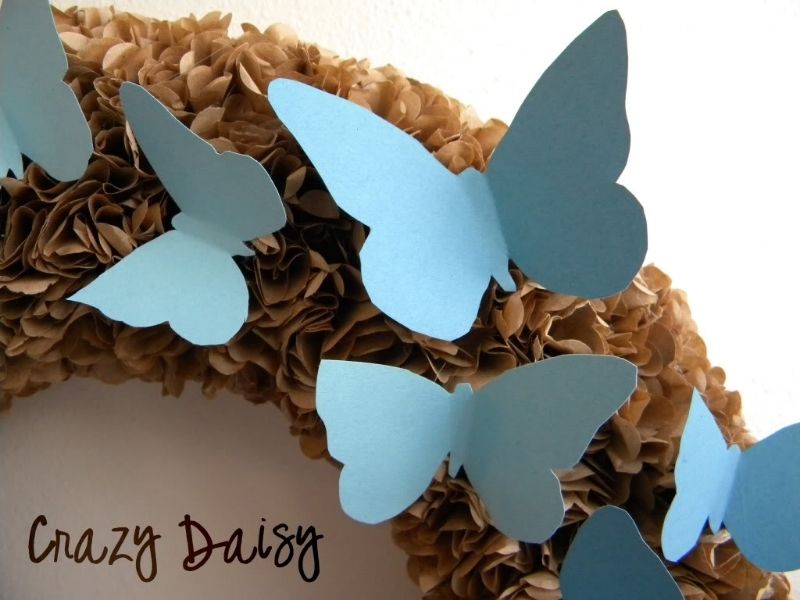
Now back to the Butterfly Wreath... isn't it pretty? AND you will NEVER EVER guess what it is made of! Ready?
Brown lunch sacks! Who would have known brown paper bags could transform into something so amazing (and so CHEAP)?
If you want one, you will need:
Brown lunch bags
Hot glue gun
Unsharpened pencil
Foam wreath form
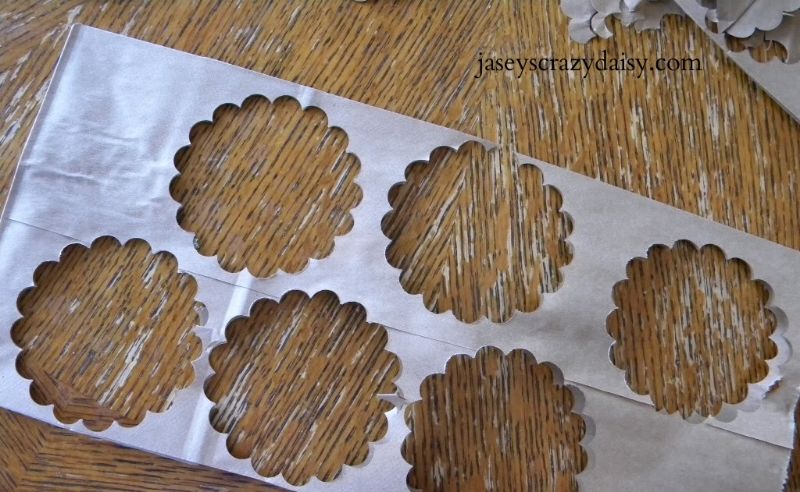
Scalloped circle punch
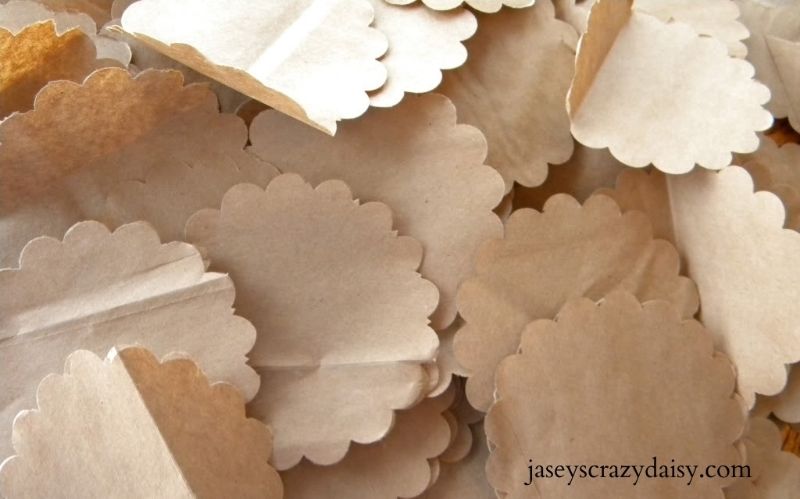
Start punching! I used a lot of scalloped circles. Way more than Taylor over at MJandG's. I think I placed my lunch bag daisies a little more tightly together, thus the need for more. I am sure you'll figure out what look works for you as you get going. I found those round white frosting containers, with the little red lids work perfectly for keeping your paper daisies organized and in one spot while you work on your project - not that I ever buy frosting (HA!). It was helpful to have them contained so I could put them away inbetween work sessions and didn't end up with them all over the floor.
After you have a pretty good stack of daisies, wrap one around the unsharpened end of a pencil, dab with hot glue, and gently push it into the wreath. Like this...
*Images from MJandG
*Image from MJandG
Can you imagine the possibilities at this point? I followed suit with butterflies, even blue, because I already have a blue flutterbly bathroom. But wouldn't green or lavender be gorgeous? Think... satin riboon. Hmmm, I may be making another one of these!
If you want to use butterflies, MJ&G has a wonderful template that I used to make mine. I used cardstock so they would hold their fluttering shape. Now, trace, cut, bend, and glue, and you are finished!
*Images by MJandG
What more can I say?This project is participating in
Subscribe to:
Posts (Atom)