Showing posts with label Vinyl. Show all posts

Monday, March 28, 2011

How To Make Beautiful Personalized Vinyl-Dyed Easter Eggs {Egg Tutorial No. 2}


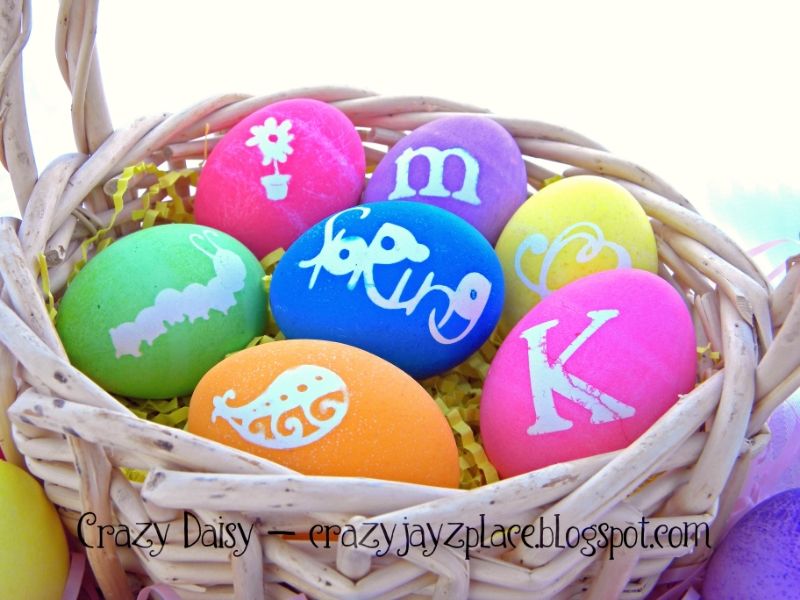
I have been so excited to share these with you! Aren't they fabulous?!?! I love them! Who knew you could use vinyl to dye eggs? I especially love them because you can create so many different styles~ eggs with monograms, whimsical pictures, classic scrolls and other designs, really there are no limits! After I figured out the trick to coloring eggs with vinyl, it turned out to be pretty easy (but there were a few moments of frustration before I figured it out). If you want to make some for yourself, I'll share the secret.

Directions
First, cut vinyl images, using your preferred method. This project is perfect for using scrap vinyl leftover from other projects~ color doesn't matter because you will peel it off. You want to size your images so they are 1.5 -2 inch squares or rectangles. Anywhere in that range should work. If you go much smaller, your crafty cutter might have trouble cutting all the details in the more intricate designs. If you go bigger, you may have troubles getting the image to adhere to your eggs. 

Prepare dye as directed on package and line your working surface with paper towels.

Once everything is ready to go, boil eggs as normal. When they are finished, gently place them in a colindar. As soon as the eggs are cool enough to handle, start applying vinyl. Make sure the eggs are completely dry first. If not, just wipe them off with a dish towel or paper towel. This is where the secret comes in~ the trick is to use warm eggs, the warmer the better. The heat semi-melts the plastic to the eggs and seals off the images so that they dye doesn't seep in and the images remain white. I started as soon as I could bear touching them. When they are hot, they really grab the vinyl so you have to really think about where you want to place the image and it's orientation, because once they come into contact, you won't be able to reposition very easily. The heat also helps because if the image has a bubble or bunches up, you can just use your finger to press the vinyl down and it will soften and stick right to the egg. 
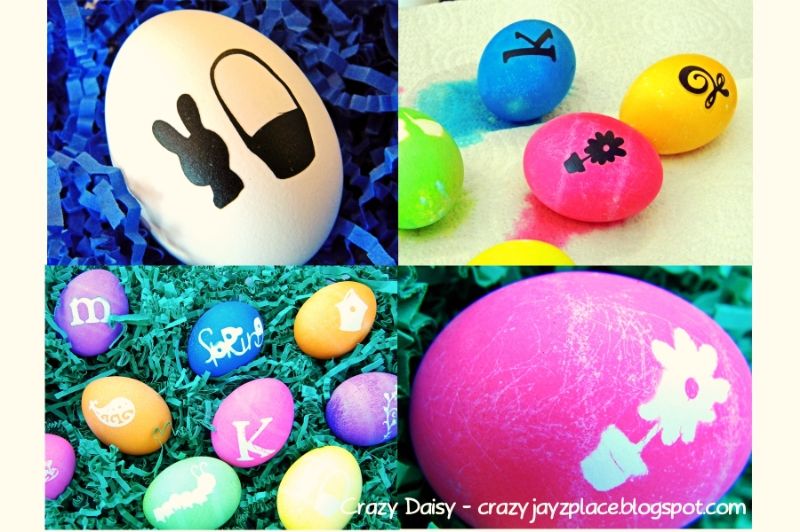

Once the vinyl is applied, color eggs as you always have, placing them on paper towels to dry. You can dye the eggs while they are warm, or let them cool so the kids can do the dipping.
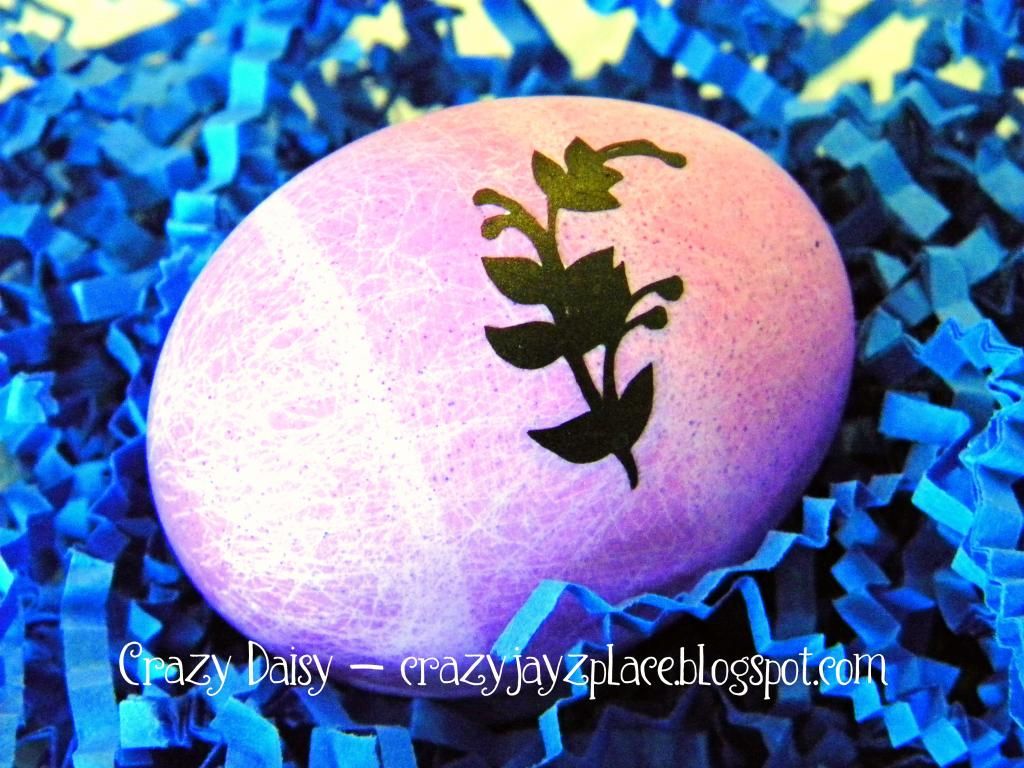

Once the eggs have dried, peel the vinyl off (or not if you you prefer the above look) and admire your beautiful eggs!
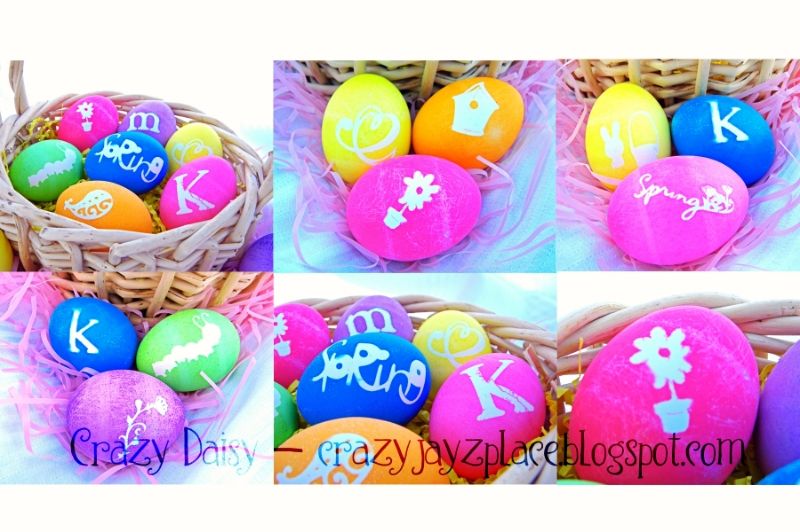
Aren't they fun? I think they are simply fabulous! Now have fun, go wild, and dye those eggs! If you are looking for other egg coloring tricks, check out these speckled ones (they are super easy).
I can't wait to see what you come up with! 

This project is participating in
Visit thecsiproject.com

I'm sharing this fun idea with {click here}
UndertheTableandDreaming
Photobucket


Funky Junk's Saturday Nite Special

Weekend Bloggy Reading

Join  us Saturdays at tatertotsandjello.com for the weekend wrap   up           party!


Photobucket
Enter your email address:


Delivered by FeedBurner

Wednesday, March 23, 2011

Would You Like To Make Speckled Easter Eggs? {Tutorial No. 1}


The Bunny's already hopping around preparing for his big day! He's filled his basket with all sorts of Easter treats, chocolate bunnies, jelly beans, little trinkets and toys, and of course, colorful eggs. He's going to be so jealous when he sees these~ aren't they fabulous!?! I saw them in Phyllis Hoffman's Celebrate magazine, (no link available) and had to try making them myself. Basically, I followed their directions, but I found some tips along the way that made the process a little easier, and a lot less messy. Here's what you'll need to do {again, sorry I don't have step-by-step pictures, but that whole lefty thing just doesn't work very well when trying to take pictures with a camera made for righties while using colored dye and vegetable oil at the same time. What can I say, I feared for my camera's life... }:

Procedure
 First, boil your eggs as normal. Drain and cool. When you are ready to start coloring your eggs, line your working space with paper towels. Mix your dye as directed on the package and ADD about 1 tablespoon of vegetable oil to each container of dye. Using a spoon or fork, swirl the dye and dip the egg into the color. Gently lift it in and out a few times to disperse the dye. Let it sit until you are happy with the coloring and remove it from the dye, holding it over the cup for a moment to let the excess liquid drip off. Set your egg on the paper towels to dry. My eggs didn't ever look completely dry so I waited until the color had set, and either rolled the eggs around on the paper towels, or wiped them off with one, to get rid of the extra oil. Now, repeat with as many colors as you want. Your eggs should end up looking like these...


Happy Egg Coloring! 
If you're loving these eggs, 
you don't want to miss whats coming up! 
Click here for more Easter egg fun...


This project is participating in
Visit thecsiproject.com
I'm sharing this idea with {click here}


Photobucket


Funky Junk's Sat Nite Special


Weekend Bloggy Reading


UndertheTableandDreaming


Photobucket
Enter your email address:


Delivered by FeedBurner

Monday, March 14, 2011

Nest {Framed Vinyl Glass Project And New Mantle Decor}


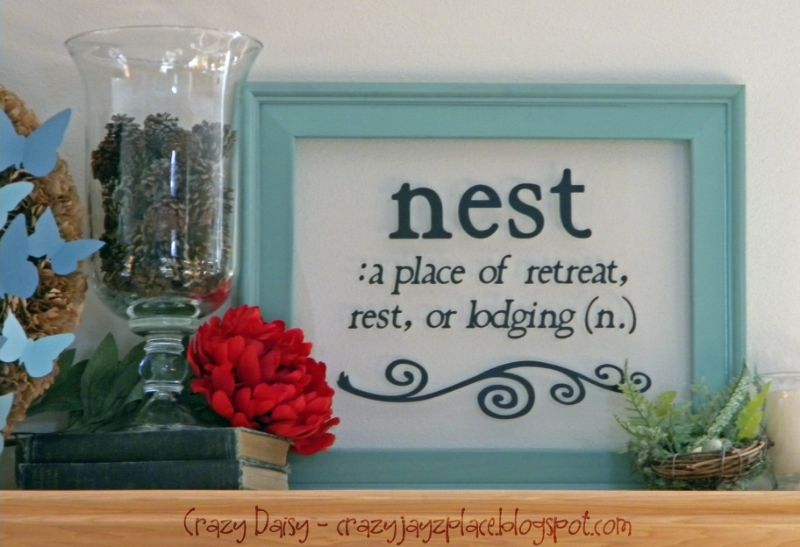
I have always been intrigued with vinyl cutters and all the beautiful projects they have the potential to create. Guess what I received for Christmas? Yep, my very own Cricut machine. And this is my very first project! I was inspired by these pillows and love how my glass version turned out. What do you think? I didn't take step-by-step pictures because I am a lefty -which doesn't lend itself very well to taking pictures with spray paint and glue in the other hand. But, I will tell you how to create a similar project.
1. Find a frame (mine is @10x13 in.) that needs a fresh new look and set the glass aside in a safe place. Paint it. I used Krylon brand, color Jade. I painted the back and inside grooves with several coats and when the last coat was dry, flipped to the front and gave it several coats.
2. When the frame was completely dry, I used Cricut Studio Design software to create my nest definition design and cut it using black vinyl. Use your preferred cutting method.
3. Clean glass and apply vinyl carefully centering it as desired. 
4. Carefully glue glass into frame. Let me introduce you to my new best friend, E6000. I applied it inside the frame's groove and carefully placed the glass inside. Make sure the glass is oriented correct before you place it on the glue. It would be terrible to glue it backwards! Very gently press edges to seal. Let sit until dry. 
*Note - This glue is amazing. I had never used it before and was scared to death it would run and ruin everything. It did run in a couple of places, but it rubbed right off after it dried. WHEW! 

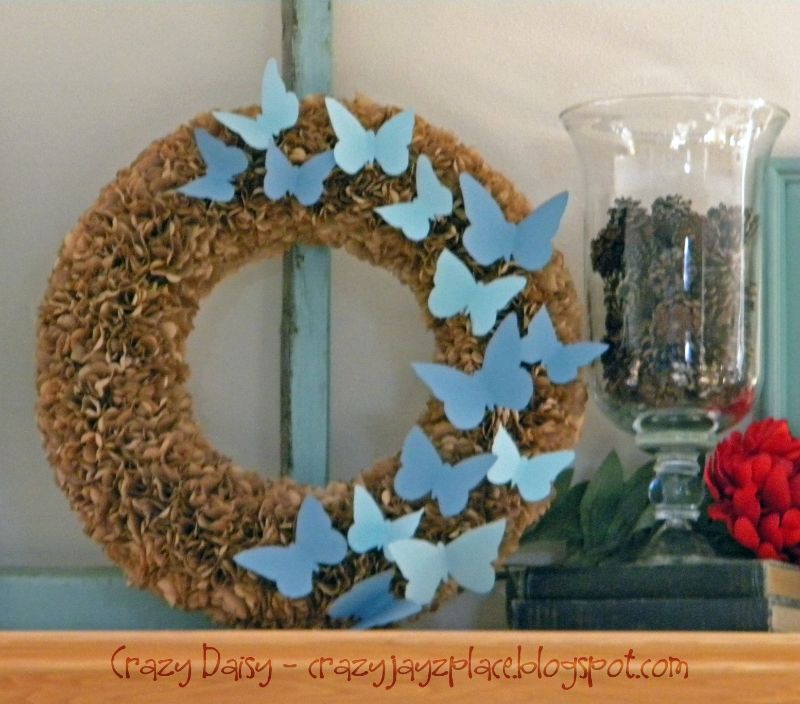
5. Find a home for your beautiful project. Which leads us to this wreath, which I intended to hang in my bathroom,


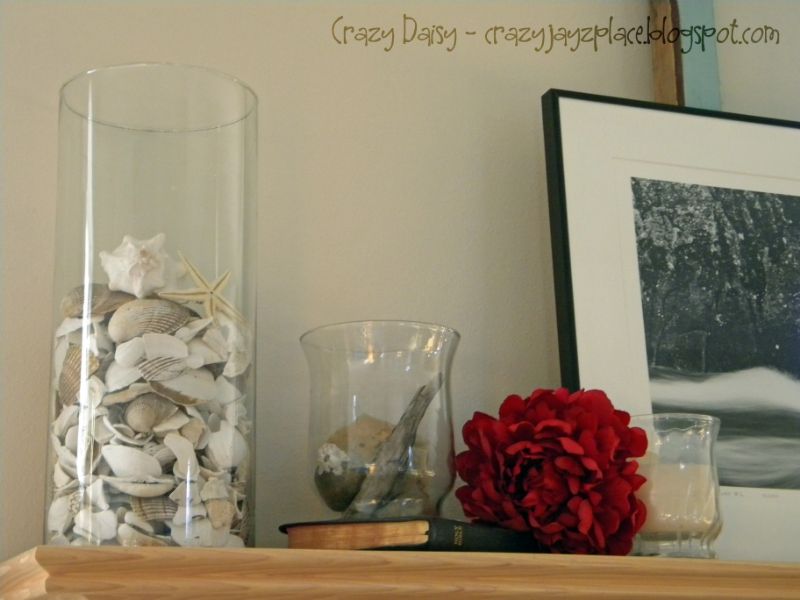
And these memory jars, including shells we collected on the beaches of Seattle, driftwood from the lake by our cabin, and other nature things from our adventures last summer,

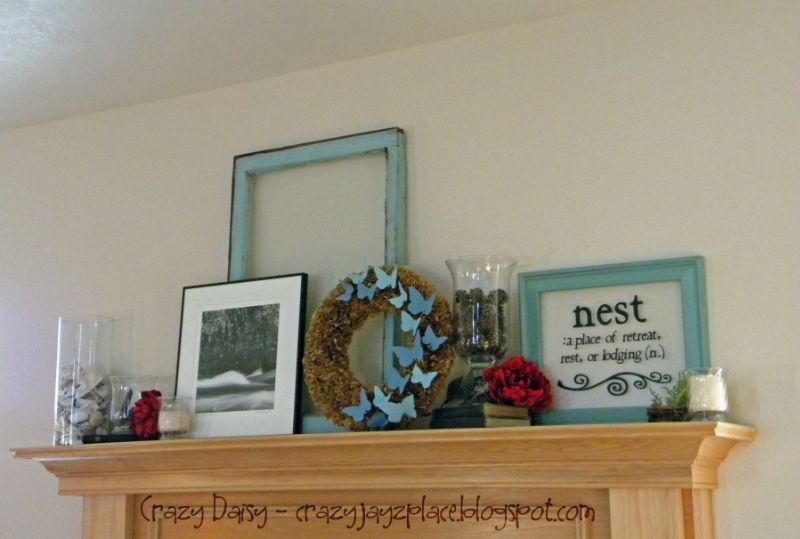
and, finally my new mantle decor! 

I haven't been happy with my mantle since we moved in - until now anyways. I LOVE it! I am tickled to have found the perfect way to welcome spring! It is my new happy place! Now, if only the rest of my house looked this good!

PS - If you are looking for some fun business cards for your etsy store or blog, check back on Monday for chance to win some!!!
This project is participating in the
Visit thecsiproject.com
I'm sharing this project with


Join  us Saturdays at tatertotsandjello.com for the weekend wrap up     party!


UndertheTableandDreaming

Photobucket

Serenity Now Crafty Cutter Party


Funky Junk's Sat Nite Special


Photobucket
Enter your email address:


Delivered by FeedBurner