If you have spent much time around here, you know that I have a thing for all things sweet; however, I promise desserts are not the only dishes to grace my table. I thought it was about time to get some other types of recipes posted - maybe attempt to balance my recipe box out just a little bit (not to worry, something sweet will post soon, I just can't help myself). This is a great dish to add to any meal - but I love to serve it with summer-time grilling recipes, which made it a good place to start - since we are all firing up our grills!
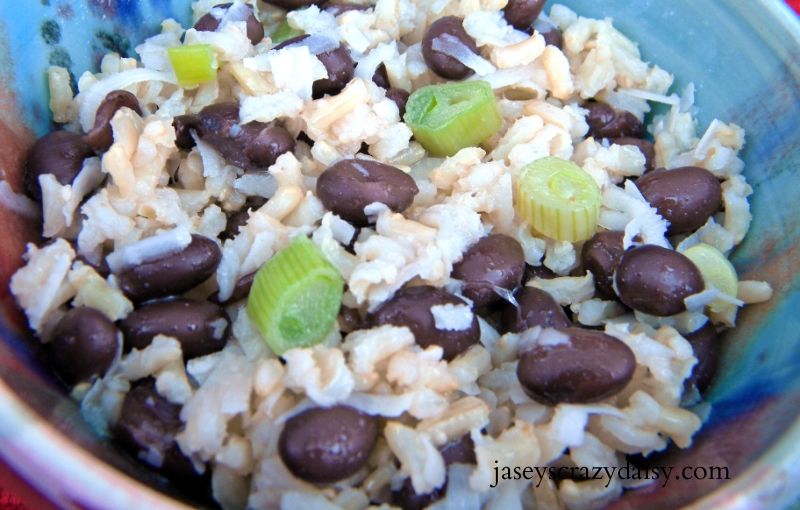
Black Beans and Rice
1 (14 oz.) can non-condensed chicken broth or chicken bouillon made equal
1/2 cup coconut
1 tablespoon butter
1 cup uncooked long grain rice
1 (15 oz.) can black beans
1/2 cup sliced green onion
In medium saucepan, combine broth, coconut, and butter and bring to a boil. Stir in rice and reduce heat. Cover and simmer 15 minutes. Stir in beans and onions, cover and cook for five minutes or until liquid is absorbed.
*Note - Minute Maid Rice can be used. When the coconut, butter, and broth come to a boil, add rice, beans, and onions cover and turn off heat for five minutes. If water is not absorbed, remove cover and cook over medium heat just until extra water is absorbed. Stir once in a while to make sure bottom doesn't burn. - OR simply drain excess water and serve.
Soooooo very yummy and perfect with dishes like this

I thought you might enjoy a sneak peak of what's coming up next!
I am sharing with
Balancing Beauty and Bedlam
Tempt My Tummy Tuesday