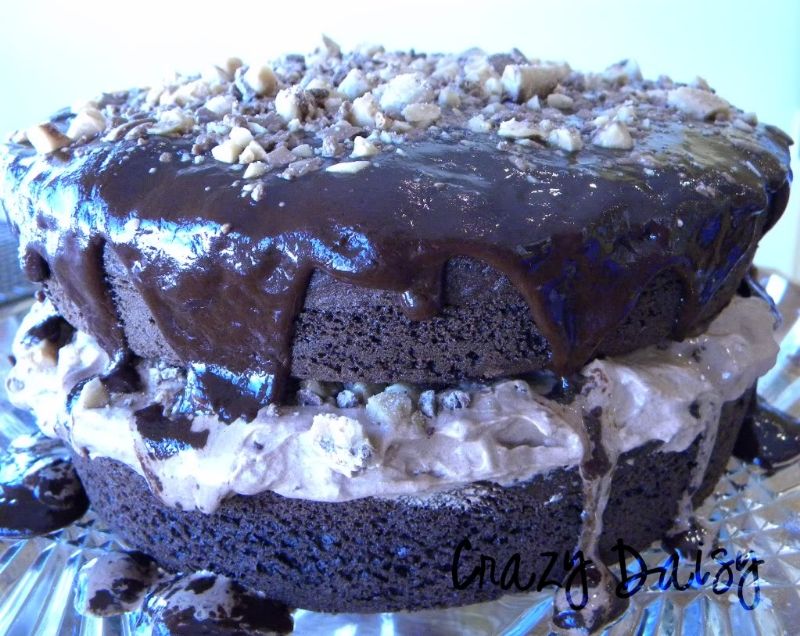
Showing posts with label Chocolate. Show all posts

Monday, March 12, 2012

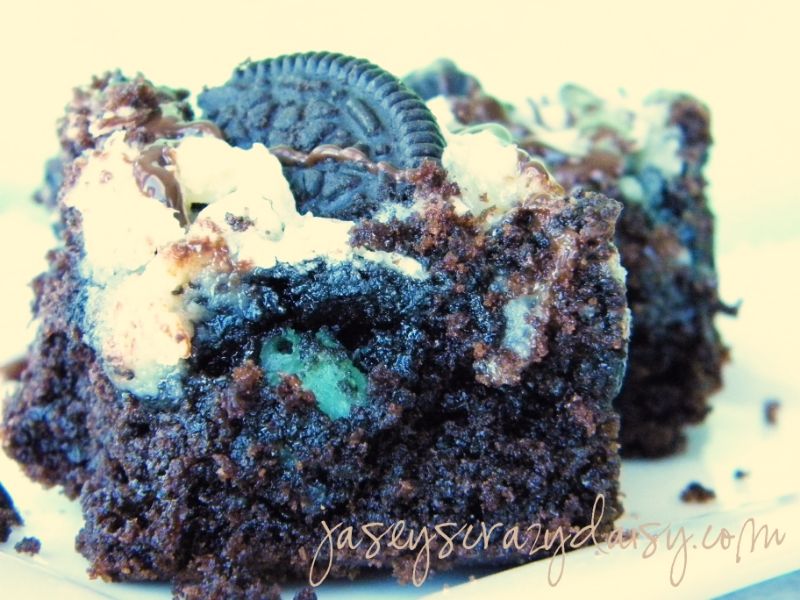
Shamrock Bars {AKA Mint Cookies and Cream Cheesecake Bars}

Pin It
I'm not sure what you feed the leprechauns in your world, but these went over pretty well in mine. It seems like those little green fellows favor anything minty, and with one layer of cookies and cream cheesecake and another of chocolate fudgie goodness, how could you go wrong? If mint isn't your cup of tea, simply use your favorite Oreo substitute. You are sure to find a winning combination.

Shamrock Bars {AKA Mint Cookies and Cream Cheesecake Bars}
*Recipe by Jasey's Crazy Daisy, Adapted from Cookies and Cups White Chocolate Butter Bars

1/2 cup cold butter
1 box devil's food chocolate cake
2 eggs
1 (8 oz.) block of cream cheese, softened
2 cups powdered sugar
2 eggs
2 teaspoons vanilla extract
20 Mint Oreos, chopped into fourths,  15 for for the cheesecake layer, 5 for the topping
1/2 cup chocolate chips

Preheat oven to 325. Spray a 9x13-inch pan with cooking spray. In mixing bowl, combine dry cake mix and butter. Beat on medium until crumbly. Add eggs and beat until smooth. Spread mixture in prepared pan. Sprinkle 15 Mint Oreos, chopped into fourths, evenly over bottom layer. In another mixing bowl, beat cream cheese and powdered sugar until smooth. Add eggs and vanilla and mix until combined. Pour evenly over chopped Oreos. Make sure to pour as evenly as possible across the crust. It may not look like there is enough, but the batter will expand upon baking. If you need to, use a spoon to scoop batter from thicker spots to those that seem a little thin. Sprinkle reserved cookie piece over the top of bars. Pop in oven and bake for about 30 minutes or until center is set. Remove from oven. Set aside. Place chocolate chips into a zip-loc baggie and put into microwave for 20 second intervals. Squish the bag with your fingers to mix and smooth the chocolate between intervals. When melted smooth, snip a tiny piece off of the corner of the bag and drizzle over bars. Cool until set, the fridge can hasten this process. Cut and enjoy!!!
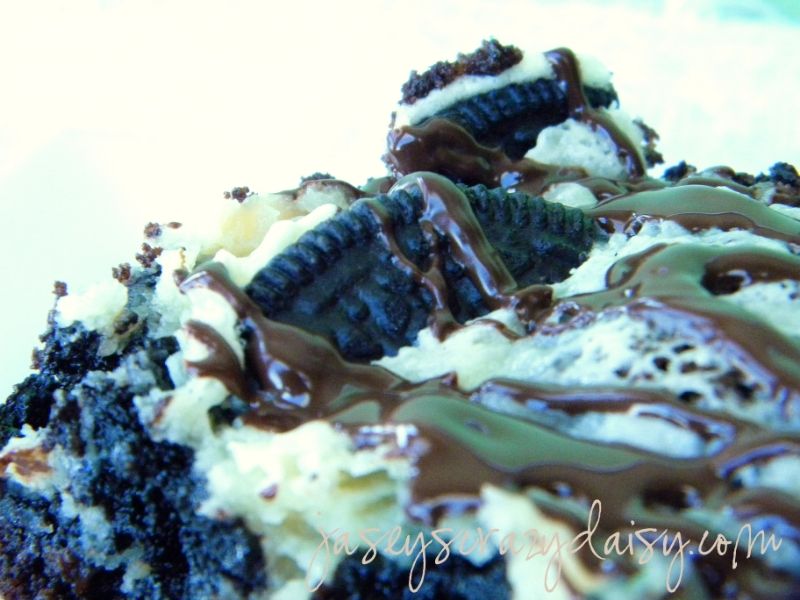
I think I'll have another. Thank goodness they are so easy to make!

Speaking of leprechauns, have you started thinking about how you might catch one this year? There's still time if you hurry. Maybe this is the year we'll get our hands on all that lucky gold!
Photobucket
Enter your email address:


Delivered by FeedBurner

Tuesday, March 6, 2012

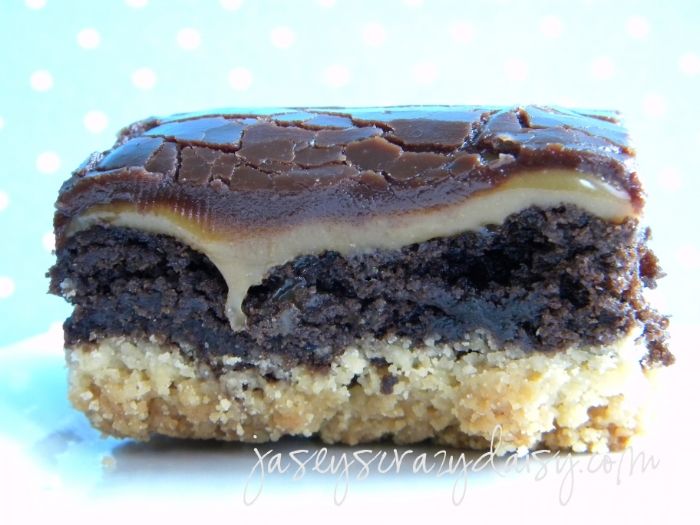
Twix Brownies {Who'd have thought Twix could get any better?}


Pin It
Brownies, again?!?! Yes, I know I have a problem! I cannot help myself. But really, I have been thinking about this particular brownie for quite some time now. You ask if there was anything wrong with Twix candy bars before they met the brownie. Not really, and yet somehow taking the creamy caramel filling, crunchy cookie base, and delicious chocolate topping and combining them with a rich moist brownie layer some how transforms both desserts into one super decadent treat. Try them. I'm dying to know if you think I'm right!

Twix Brownies
*Recipe by Jasey's Crazy Daisy
Crust Layer
1 (12.8 oz.) package of Simply Sandies Shortbread Cookies
6 Tablespoons butter

Brownie Layer
1 box of brownie mix
Ingredients called for in directions on back of box
1/4 cup hot fudge ice cream topping

Caramel Layer
1 (14 oz.) bag of caramels
2 Tablespoons heavy cream

Chocolate Topping
1 (11.5 oz.) bag milk chocolate chips
2 Tablespoons butter
1/4 cup heavy cream

*Note - If you don't have any cream on hand, and don't want to purchase for such a small amount, just use milk. Things will still turn out deliciously. I bet no one even notices, unless you tell them.

Grease bottom of 9x13-inch baking pan. For easier cutting, line the pan with foil first. Using a food processor, pulse cookies until they resemble sand. In a medium bowl, melt 6 Tablespoons butter. Add cookie crumbs, stirring until all crumbs are moist. Press into bottom of prepared pan.

Prepare brownie batter as directed on the back of the box, mixing 1/4 cup hot fudge ice cream topping into brownie batter (straight from the jar, unheated). Pour batter on top of cookie crust and bake as directed. If baking at a high altitude, don't forget to follow special instructions. Cool.

Place caramels and cream in a saucepan and cook over medium-low heat until caramels are melted smooth and creamy, stirring constantly. Pour over cooled brownies. Try to spread the caramel evenly across the brownie surface while pouring to make spreading easier. Let cool until set. You can quicken this by sticking the brownies in the freezer for about 15 minutes.

Melt chocolate, butter, and cream together in a saucepan over medium-low heat, stirring occasionally until melted and creamy. Pour over cooled caramel layer. Again, cover as much of the brownies as possible while pouring to make spreading easier. Cool. If you are in a hurry pop them in the fridge for a bit. Cut and enjoy.

Truthfully, I'm not sure I'm over brownies yet. Tell me, what's your favorite brownie like?
Photobucket
Enter your email address:


Delivered by FeedBurner

Friday, March 2, 2012

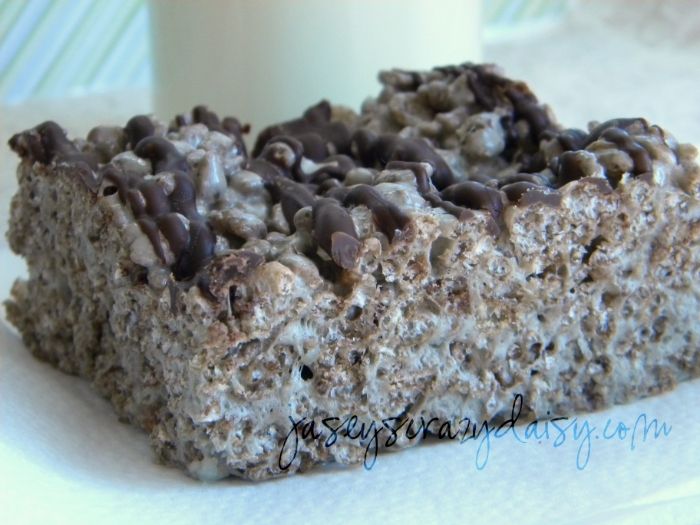
Chewy Mint Chocolate Cocoa Crispy Treats

Pin It
Mint chocolate anything is always one of my favorites. Since this flavor combination seem to be everywhere this time of year, I thought I would share one of my favorite mint chocolatey treats with you. Rice Krispie Treats, meet mint and chocolate. Not only would they be festive topped with shamrock sprinkles or an extra drizzle of green candy melts for St. Patrick's Day, they are a perfectly easy treat for anytime just as they are.

Chewy Mint Chocolate Cocoa Crispy Treats
*Recipe  by Jasey's Crazy Daisy

4 1/2 Tablespoons butter
2 (8 oz.) bags of Jet-Puffed Chocolate Mint Marshmallows
6 cups Cocoa Krispies
1/3 cup Andes baking chips

Grease or butter a 8X8 pan. Pour Cocoa Krispies into a large bowl. In another large microwave-safe bowl, melt marshmallows and butter for 60 seconds. Stir. Repeat until mixture is melted and mixed together. Pour over Cocoa Krispies. Stir, using a wooden spoon, until mixed well. Keep mixing until all the crumbs are incorporated. Pour into prepared pan and press to spread evenly. I find it helps to spray my fingers, or a wooden spoon with cooking spray to press the mixture without sticking. Set aside. Place Andes baking chips in a zip-loc baggie. Place in microwave for 20 seconds. Take out and knead to mix. Repeat until mint chocolate is melted. Cut off a small piece of the corner of the bag and drizzle bars with mint chocolate. I usually place them in the fridge to hurry the process (but if you leave them too long, you will have to let them sit out to soften before cutting). Once chocolate has set, cut into bars and enjoy.

*Note - If you omit the Andes mint chocolate drizzle, the mint flavor that results from the marshmallows is very subtle. The drizzle completes the minty taste of these treats perfectly.  Next time I make these, I may even try to mix in some of the Andes baking chips just after the cereal has been stirred into the marshmallow mixture, and has cooled just a bit, before spreading the treats in my pan. Yum!

Now to wrap up a little business by announcing a winner! If you are tuned into my facebook page, you already know who won this cookbook.
If not, our winner is,

I love all of your ideas! My favorite cake is german chocolate cake! The photos you post of your cakes bring back so many memories of my grandma who used to be a cake decorator for many years!
Amanda

Congrats, Amanda, enjoy your new cakebook! What's your favorite mint chocolate treat?
Photobucket
Enter your email address:


Delivered by FeedBurner

Friday, February 17, 2012

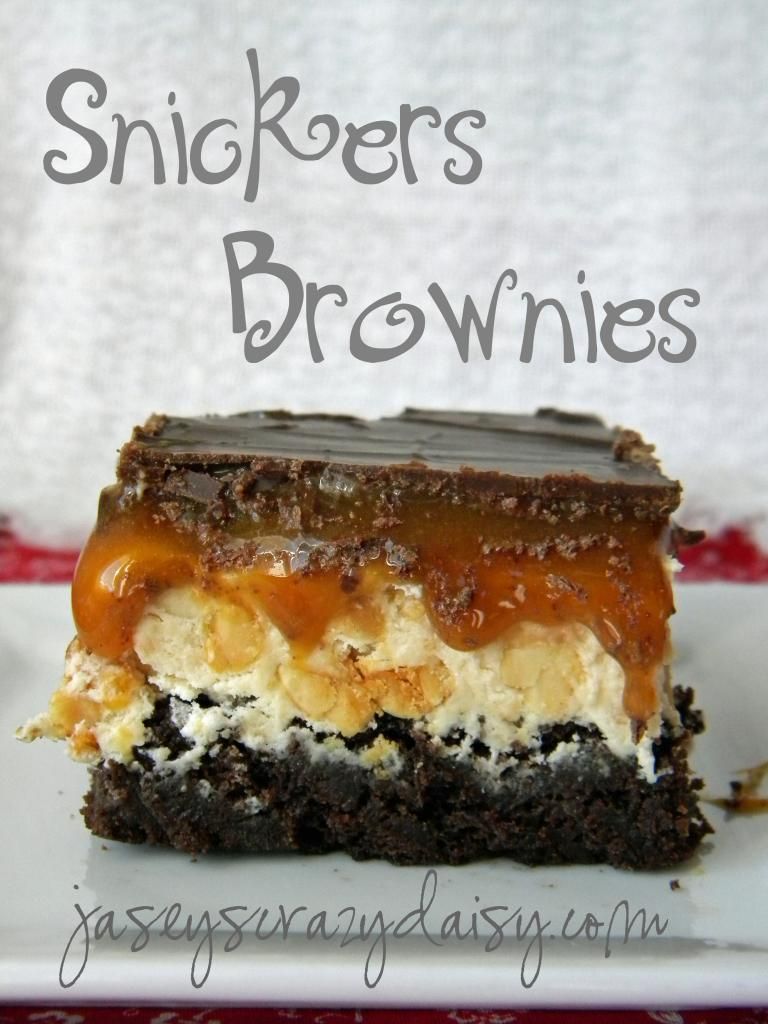
Snickers Brownies


Brownies, obviously I have a thing for brownies. Or, rather for taking my favorite treats and twisting them into brownies. This time brownies meet Snickers, complete with, peanut nougat center, caramel, and chocolate candy bar topping. Go ahead and make them now, you can thank me later.

Snickers Brownies
Brownie Layer
1 box of brownie mix, I prefer Betty Crocker's Fudge or Dark Chocolate mixes
Ingredients called for on box
1/4 cup hot fudge topping, unheated, straight from the jar

Nougat Layer *Adapted from How Sweet It Is
1/4 cup unsalted butter
1 cup granulated sugar
1/4 cup evaporated milk
2 (7 oz.) jars marshmallow creme (@1 1/2 cups)
1/4 cup peanut butter
1 1/2 cups salted peanuts, roughly chopped
1 teaspoon vanilla

Caramel Layer
1 (17 oz.) jar of caramel, preferably Mrs. Richardson's Butterscotch Caramel

Candy Bar Topping
1 1/4 cups chocolate chips
1/4 cup peanut butter.

Prepare brownie batter according to package directions for a 9x13-inch pan, adding 1/4 cup hot fudge ice cream topping, unheated and straight from the jar to the batter. Make sure to follow the high altitude directions if you live at high altitude. Cool completely.


Melt butter in a saucepan over medium heat. Add sugar and milk, stirring until dissolved. Bring to a boil. Add in the marshmallow creme (I didn't measure, because how exactly do you measure that sticky fluff? I used one complete 7 oz. jar and most of the second jar), peanut butter, and vanilla stirring until smooth. Turn off heat and fold in peanuts. Pour evenly over cooled brownies. Use a spatula to help spread the mixture. Cool. I stick the brownies in the freezer for about 15 minutes.


Scoop caramel topping into a heavy bottomed saucepan and heat over low until caramel is soft and easy to stir.  Pour the caramel over the nougat layer. Make sure to pour it evenly across the nougat covering as much as the surface as you can. This makes it easier to spread the caramel with a spatula. Let cool. Again, I usually stick this in the freezer for about 15 minutes. Scoop caramel topping into a heavy bottomed saucepan and heat over low until caramel is soft and east to stir rather than mess with hot.

Melt chocolate chips and peanut butter together in a saucepan over low heat, stirring occasionally, until smooth.  Pour over nougat layer and cool completely. I usually stick them in the fridge until the chocolate is set. They chocolate gets pretty soft when left out, so I like to store these in the fridge and let them set out for a few minutes before cutting them. You want the chocolate to be cool enough to be set, but warmed up just a bit so that they are soft enough to cut more easily. Enjoy!


PS - For those of you have noticed my absence, I wanted to apologize for the crazy long time it's been since I've last posted. I am in the middle of what I'll call a nine month marathon. Basically all food has tasted gross and some days water tastes like raw fish. I am now about a week away from entering the third trimester, and have never been as thrilled as I am to say I have gained about three pounds. To sum it up, I have felt pretty icky and haven't dared trust myself to post anything food related because nothing tastes good. On the up side, I am now having moments of wellness where things taste ok and I can eat without feeling green. I am so very excited to meet this little one who loves to somersault and already seems so full of life. Thanks again for your continued support. I look forward to sharing many more fun project ideas and tasty treats in time to come.
Photobucket
Enter your email address:


Delivered by FeedBurner

Monday, November 7, 2011

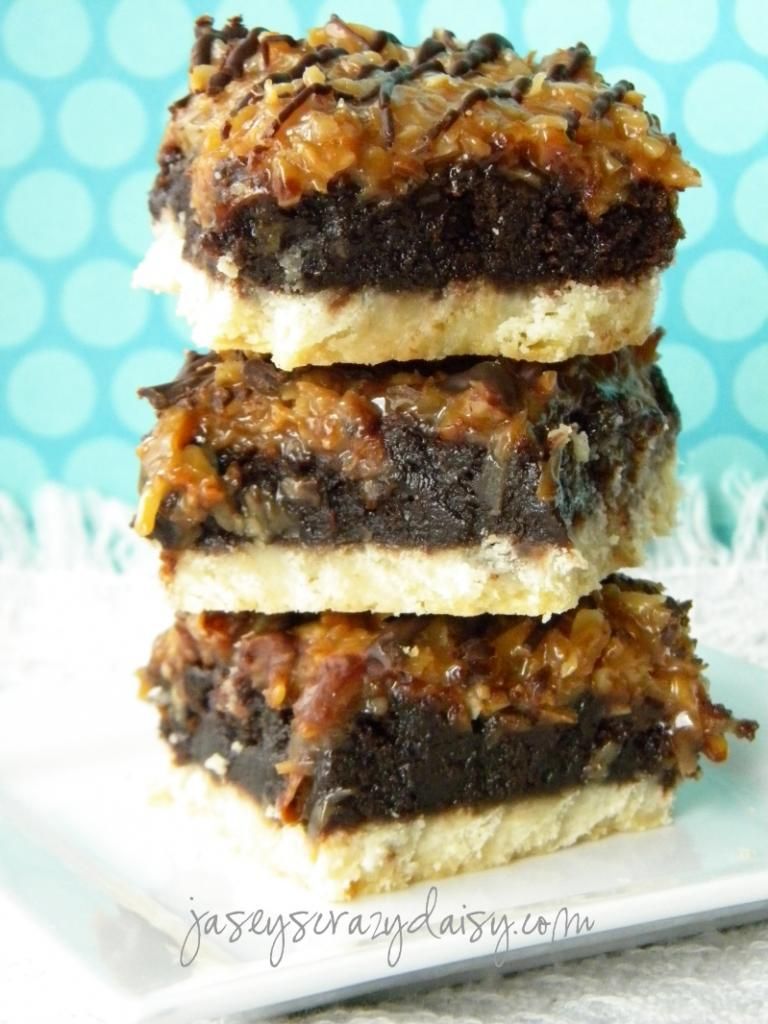
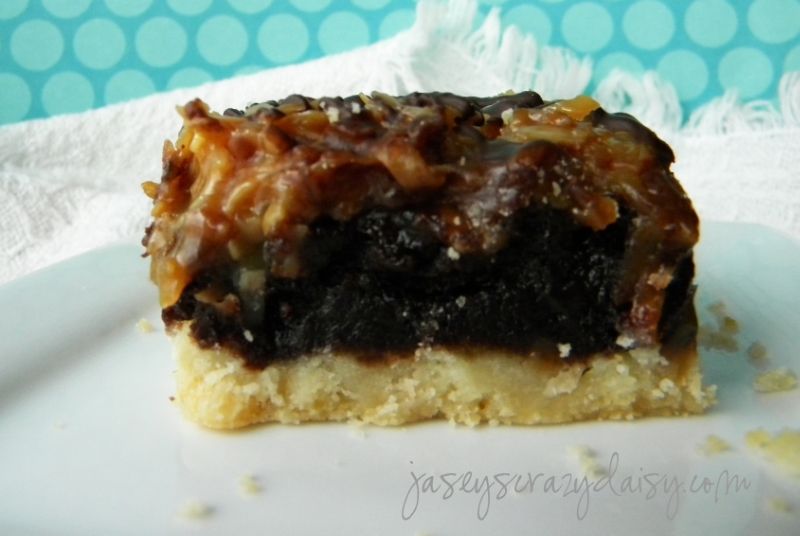
Samoa Brownie Cookie Bars


These are so yummy.... they're kind of like those Girl Scout Samoa Cookies, with their shortbread cookie crust, gooey coconut caramel topping and chocolate drizzle, but these naughty little bars sneak in a delightful layer of brownies. Almost like German Chocolate Cake, without the nuts, plus the cookie crust. Whatever you want to call them, these were sooooo good that I had to whisk them out of my house and into the hands of my friends to spread their joyful tastiness, and eliminate the temptation, and what surely would have ended with guilt, of eating the entire batch myself. Yep, I think I would have done it. Thank goodness for friends who are always up for sampling brownie creations, saving me from, well, myself.

Samoa Brownie Cookie Bars
*Recipe By Jasey's Crazy Daisy

Shortbread Crust: (adapted from A Montana Table's Huckleberry Cobbler Crust)
*12 Tablespoons unsalted butter (1 1/2 sticks), cold and cut into cubes
3/4 cups powdered sugar
1 1/2 cups all-purpose flour
*1/2 teaspoon salt

*If you don't have unsalted butter, use salted butter, and leave out the 1/2 teaspoon salt.

Brownie Layer:
1 package brownie mix, I prefer Betty Crocker's Fudge Brownies or Dark Chocolate Brownies

Water, oil, and eggs called for in the directions on the brownie box
1/4 cup hot fudge ice cream topping, straight from the jar, unheated

Coconut Caramel Layer:
3 cups toasted coconut,
1 (17 oz.) jar caramel topping, Mrs. Richardson's Butterscotch Caramel is the only brand I use


Chocolate Drizzle:
1/2 cup chocolate chips

Directions:

Preheat oven to 300. Cover baking sheet with parchment paper. Spread coconut evenly over baking sheet. Bake for about 20 minutes, stirring every 5 minutes to make sure coconut browns evenly. Set aside to cool.

Preheat oven to 350. Combine all crust ingredients and cut with pastry knife, or mix with mixer until coarse pea-sized lumps form. Press evenly over the bottom of a 9 x 13-inch glass baking dish. Bake until lightly browned.

Meanwhile, prepare brownie batter according to package directions, adding 1/4 cup hot fudge ice cream topping, unheated and straight from the jar. Make sure to follow the high altitude directions if you live at high altitude. Pour over shortbread crust and bake as directed, until a toothpick comes out nearly clean with only a few crumbs remaining.

When brownies are almost finished, scoop caramel topping into a heavy bottomed saucepan and heat over low until caramel is soft and easy to stir. Add toasted coconut and stir gently until evenly mixed. If brownies are not quite finished, keep this warm, stirring occasionally. Keeping the coconut caramel mixture warm will help it to spread evenly without tearing brownies apart.

Pour coconut caramel mixture over brownies and gently spread evenly over the top. 

Place chocolate chips into a zip-loc baggie and put into microwave for 20 second intervals. Squish the bag with your fingers to mix and smooth the chocolate between intervals. When melted smooth, snip a tiny piece off of the corner of the bag and drizzle over bars. Cool.

I let these cool for a bit, probably half an hour, and then put them if the refrigerator to finish setting, after sneaking a taste, that is. They are super yummy warm, but cut much more neatly if you wait for them to set. 

I think I will be making quite a few batches of these to use as Christmas gifts. I think they might be my new favorite treat. They might even make an appearance at Thanksgiving. What's on your Christmas baking list?


Photobucket
Enter your email address:


Delivered by FeedBurner

Monday, August 29, 2011

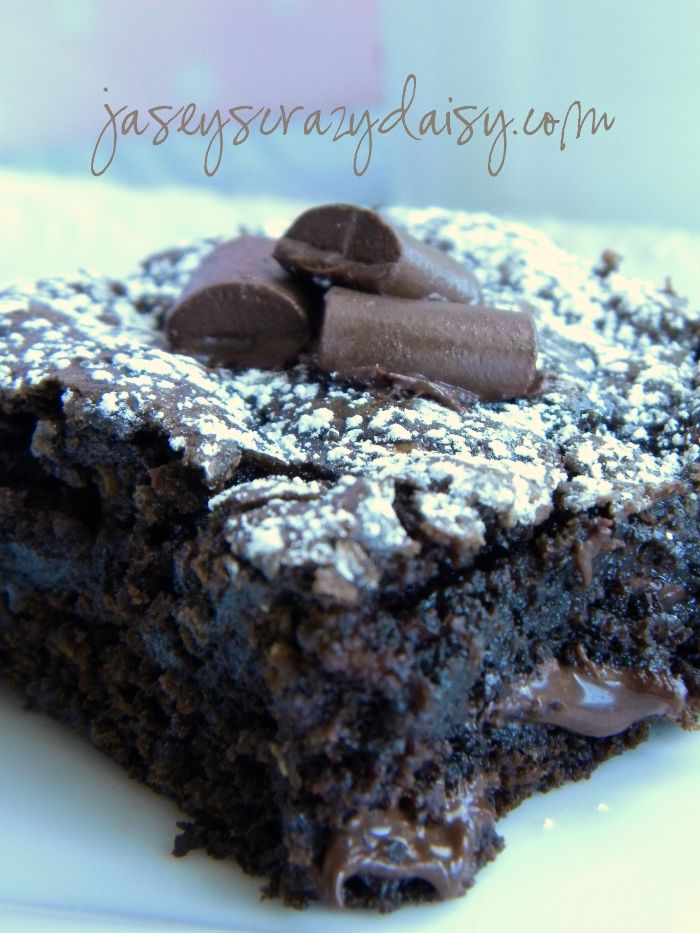
Chocolate Chunk Zucchini Brownies {with a gluten free recipe option}

One summer afternoon, long ago when I was a little girl, I remember baking zucchini brownies with my aunt thinking, "Is she seriously going to put that green stuff in our brownies?!?!?!" They baked. They cooled. We tasted, I thought, "Are these the same brownies? The ones with the green stuff?" They were so yummy! No hint of anything green, just pure chocolately goodness. And if you eat them after they have cooled a little, the chocolate chunks are kind of soft and melted and gooey. In fact, after stating that he was ready to try some of those "BIKINI" brownies, my son declared, "How did you get the frosting on the inside?" I was tempted to top my warm brownie with a giant scoop a vanilla ice cream and a drizzle of hot fudge{I promise, that would have earned a place in the sundae hall of fame} except for the small fact that it's not even ten o'clock in the morning, AND I have been working really hard to consciously eat better... the whole smart choices and smaller proportion thing. By the way, the one I ate, it was totally worth it!

Chocolate Chunk Zucchini Brownies
*Recipe adapted from my aunt, Sue Bodner, by Crazy Daisy


2 cups flour
1 teaspoon salt
1 1/2 teaspoon baking soda
1/2 cup cocoa
1 1/4 cups sugar
1/2 cup Canola oil
2 eggs
2 teaspoons vanilla
2 cups shredded zucchini
1 cup chocolate chunks

*Note~ This is a fantastic gluten free brownie when Bob's Gluten Free All-Purpose Flour is substituted for the regular flour and if gluten free chocolate is used. I think the moisture from the zucchini helps keep the gluten free texture soft and yummy!


Preheat oven to 350. Spray 9x13 pan with cooking spray. In a medium bowl, whisk together flour, salt, baking soda, and cocoa. Set aside. In mixing bowl, cream together sugar and oil. Add egg and vanilla, beat until until incorporated. Stir in zucchini. Add dry ingredients and beat until mixed well. Add chocolate chunks, mixing well. Pour into prepared pan and bake for about 25 minutes or until a few crumbs come remain on toothpick after inserted into the middle. Cool slightly and dust with powder sugar, or frost, or simply enjoy as is.

We're off to enjoy our day... we are going for a bike ride.... and to get the rest of these brownies out of my house and to deliver some treats to some friends.
Photobucket
Very Good Recipe Tags: Brownies, Desserts, Zucchini
Enter your email address:


Delivered by FeedBurner

Monday, August 15, 2011

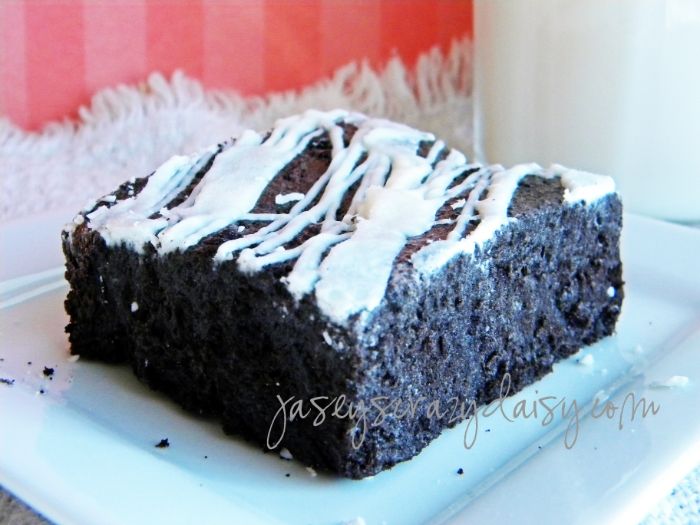
Chewy Oreo Bars {No Bake}


These have quickly became a favorite treat at my house. My kiddos request them frequently. Really, I'm not even sure what to call them. After glancing at the ingredients, you might think 'rice krispie treats' which is totally what I thought. However, while chewy, the end result is softer... almost like a brownie. I guess they lie somewhere in between the rice krispie treat and the brownie, like a yummy cross. Try them! Let me know what you think. I think you just might find a new treat to add to your list of favorites.

Chewy Oreo Bars
*Recipe adapted from Picky Palate

2 (16.6 oz) packages of Oreos
2 (10 oz.) bags of large marshmallows
1 stick butter, cut into cubes
1/2 cup white chocolate chips

*Note~ If you want to make a smaller batch, use a 8x8 pan and only half of the ingredients.

Grease or butter a 9x13 pan. Place Oreos in food processor and pulse into ground (you may have to work in batches). Pour Oreos into a large bowl. In another large microwave-safe bowl, melt marshmallows and butter for 60 seconds. Stir. Repeat until mixture is melted and mixed together. Pour over Oreos. Stir, using a wooden spoon, until mixed well. Mixture will become thick and hard to stir. Keep mixing until all the crumbs are incorporated. Pour into prepared pan and press to spread evenly. I find it helps to spray my fingers, or a wooden spoon with cooking spray to press the mixture without sticking. Set aside. Place white chocolate chips in a zip-loc baggie. Place in microwave for 20 seconds. Take out and knead to mix. Repeat until chocolate is melted. Cut off a small piece of the corner of the bag and drizzle bars with chocolate. I usually place them in the fridge to hurry the process (but if you leave them too long, you will have to let them sit out to soften before cutting). Once chocolate has set, cut into bars and enjoy.

What would you call these yummy cookies and cream treats? I'm open for suggestions...

PS - Have you heard of Pinterest? Find me here. What a beautiful place. Need an invite? Let me know and I will see what I can do!

PPS - If you like these treats, you make be interested in their Chocolate Drizzled NutterButter Bar cousins. Click here.
Photobucket
Enter your email address:


Delivered by FeedBurner

Thursday, July 7, 2011

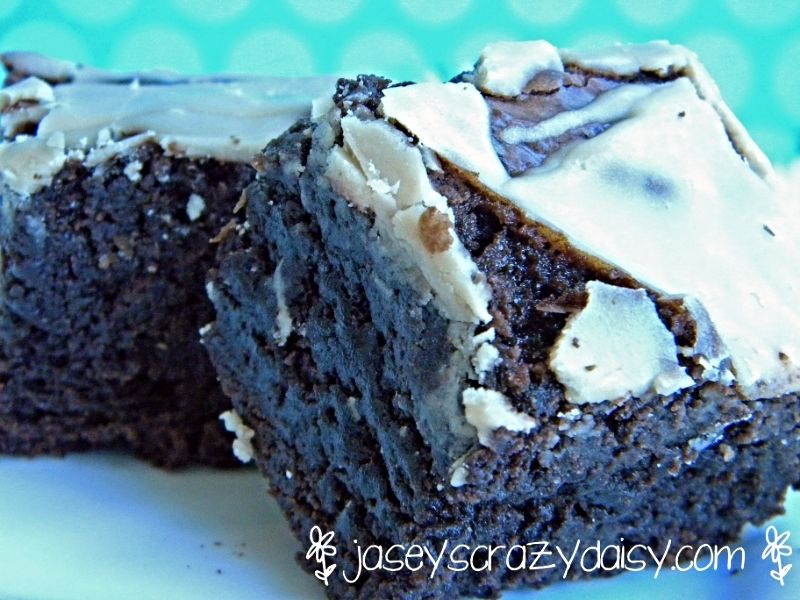
Mocha Coconut Creme Brownies

I seriously cannot believe I have waited this long to share these with you. What can I say? Life happens! It was a sad day... we lost our little Wheaten, Maya. She got sick. Real sick. She's at peace now. Our hearts are sad, but we are ok. She's not hurting anymore which makes it bearable. There's the down side of things. But we've also had some ups.  We had an amazing visit with my grandparents. I fell in love with pineapple upside down cake and my family had a fabulous train ride. Enjoyed my in-laws company for a few days, along with some fireworks! And to top it off, my almost first grader is home~ which is the best part! I love it when my kids are home and I don't have to share them with the rest of the world... or at least with the school for the majority of the day :)! We're up to nothing but fun now! Which means blogging has sort of taken the back seat. But I'm back with something totally super yummy! I promise. Let me introduce you to my inspiration....
Image by Chuggin McCoffee
Yep, Starbucks Mocha Coconut Creme Frappuccino! Have you had the chance to taste one? If not, do. What are you waiting for? Heaven in a cup. And while their frosty version is amazing, I wanted a brownie version. What do you need to know about these brownies? They are perfect, moist and chewy with a hint of coconut and a hint of coffee. It's been said that they are "off the hook!" Think you should make them? I do.

Mocha Coconut Brownies

Brownies
2 boxes of Betty Crocker Brownie Mix, either the dark chocolate or the fudge brownie mix
4 Tablespoons flour
2/3 cup Coffee-mate Coconut Creme coffee creamer, from the refrigerator section
2 1/2 teaspoons instant coffee (I used 2 Nescafe's Taster's Choice single serve packets)
2/3 cup oil
5 eggs

Coconut Mocha Glaze

1 cup powdered sugar
1 teaspoon vanilla
3 Tablespoons butter, room temperature
2 Tablespoons Coffee-mate Coconut Creme coffee creamer
1 teaspoon instant coffee granules

Preheat oven to 325 degrees. Grease the bottom of a 9x13 pan. In a large bowl, stir flour into dry brownie mix. Add coconut creamer, instant coffee granules, oil, and eggs and stir just until combined. Spread into prepared pan. Bake for around 50 minutes. I would check after 45 minutes, just to make sure. They are done when a toothpick comes out with a few moist crumbs.

For the glaze dissolve instant coffee granules in coconut creamer. You may need to heat for 8-12 seconds in the microwave.  Stir in vanilla. Whisk in powdered sugar and butter until smooth. Drizzle over slightly cooled brownies. I have a hard time waiting, {gasp} for the brownies to cool all the way, but if you add the glaze too soon, it will melt into the brownies. So do your best and wait a bit.

You'll be glad you did.

Just in case you were wondering about the stars of the show, this is what they look like!
Image from Coffe-mate
Image from Taster's Choice

I used two of those packets that you see above in the brownies and opened one for the glaze... I just keep that tucked away for the next batch. Because there will be a next batch, and another, and another, and another.... you get the point.

Oh yeah, what do you think about the new look?
Photobucket
Enter your email address:


Delivered by FeedBurner

Friday, June 3, 2011

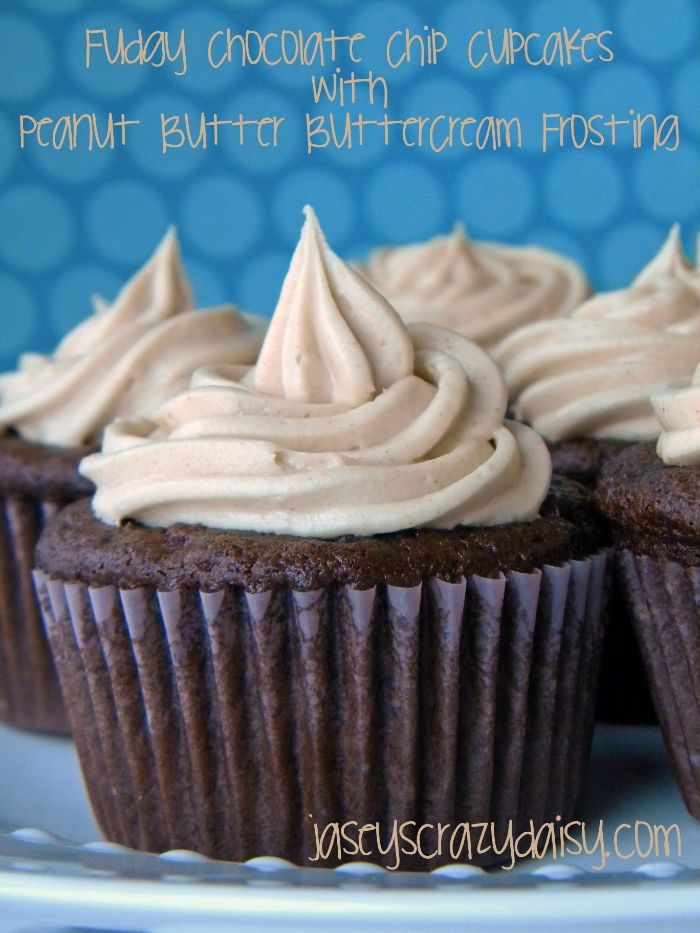
Fudgy Chocolate Chip Cupcakes with Peanut Butter Buttercream Frosting


We just celebrated my littlest's FOURTH Birthday. How did that happen? Seriously, it seems like only moments have passed since the day he was born. We also celebrated my oldest's Kindergarten Graduation... same deal. Time, you are not my friend. I suppose it's a little bittersweet. I want them to be happy and healthy, growing and learning, fun and wonderful. They are, so I really have a lot to be thankful for. They amaze me everyday in a million ways. Blessed. That's what I am. Thankful each time I hear the word "mom", because not all of us have the chance to be parents and so many take it for granted. My life would be so very different without them. I can't don't even want to imagine....blessed, that's what I am. I'll leave it at that and stop whining about time. Should we get back to cupcakes now? I think so!

So those cupcakes up there, they were part of these celebrations. I wanted something kids would be crazy for, but with tastes grown up enough that adults might even enjoy. You can't go wrong with chocolate, especially super moist cupcakes dotted with fudgy melted mini-chocolate chips. Add a little peanut butter buttercream frosting, and you end up with a classic. Here we go.

Fudgy Chocolate Chip Cupcakes with Peanut Butter Buttercream Frosting
*Recipe by Crazy Daisy

Fudgy Chocolate Chip Cupcakes
*The cake recipe itself isn't a JCD original, it's out there just about everywhere, like here at Kevin and Amanda's.

1 box devil's food cake mix (I always use Duncan Hines, I think it's the best)
1 small box instant chocolate pudding mix
1 cup sour cream
1 cup canola oil
4 eggs
1/2 cup milk
1 teaspoon vanilla
1 (12 oz.) package of mini chocolate chips (2 cups)

Preheat oven to 350. Mix together everything except chocolate chips on medium speed, scraping occasionally. Stir in chips. Pour batter into preferred pan(s). Obviously, if you want cupcakes, use lined muffin tins, or grease and flour it. I used a large cookie scoop to fill the tins (about 3 tablespoons). For baking time, add 10 minutes to the time specified on box and check. Do the toothpick test to check, you'll want a few moist crumbs. The middle won't jiggle anymore and the tops will spring back when touched lightly. If not done, check about every five minutes until done. Cool completely and frost with Peanutbutter Butter Cream Frosting.

Peanutbutter Buttercream Frosting
*Recipe by Crazy Daisy

2 sticks butter, softened
1/2 cup creamy peanut butter (don't use the natural kinds that you have to stir, or the old-fashioned brands)
1 3/4 cups powdered sugar
1/2 teaspoon vanilla

With a whisk attachment, beat butter and peanut butter at medium speed until smooth and creamy. Add powdered sugar and beat until mostly moistened. Scrape bowl and beat at medium-low until fully combined. Add vanilla and beat at medium until fully incorporated. Increase speed to medium high and beat until light and fluffy, scraping bowl occasionally. 

Enjoy your cupcakes! 

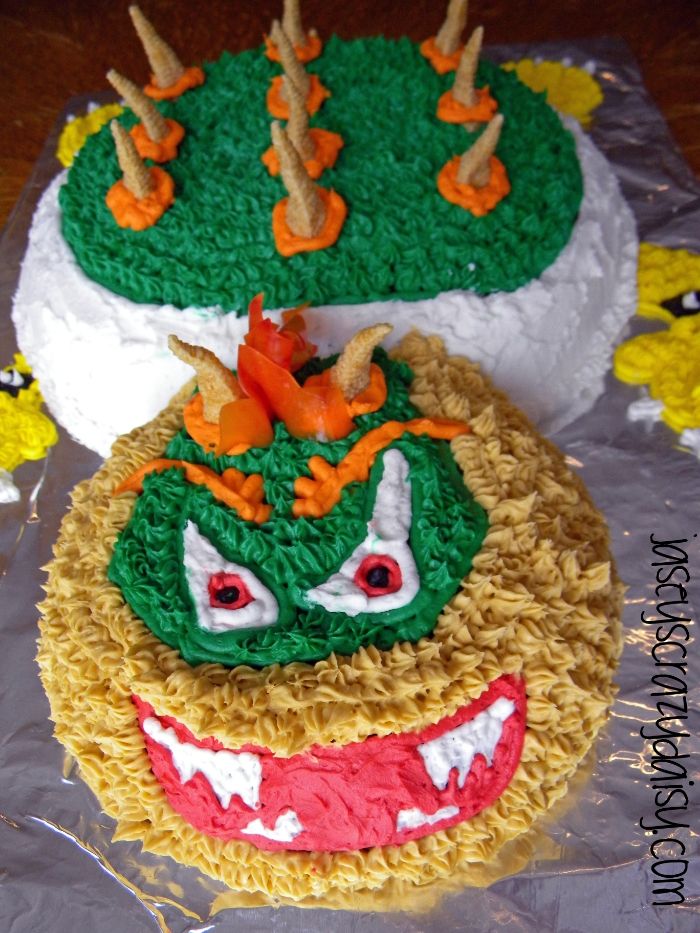
I also used this cake recipe to make my son's birthday cake. Any guesses who it might be?

And last, we have a winner! The winner of the At My Grandmother's Knee cookbook is Kadie, who said, "I love cookbooks!! I am a transplant to the south and true southern recipes. My husband gets so excited when I find one and they turn out. Oh, and his favorite cake is Red Velvet so you see I really need this book! Thanks for the giveaway." Congrats! I hope you enjoy your new cookbook!

I'm sharing this yumminess at these parties!
Photobucket
Enter your email address:


Delivered by FeedBurner

Friday, May 20, 2011

Triple Threat Chocolate Fudge Peanut Butter Cookies

The other day I made some of these.


Triple Threat Chocolate Fudge Peanut Butter Cookies. Want some? Thought so. Click here.
Photobucket
Enter your email address:


Delivered by FeedBurner

Monday, May 16, 2011

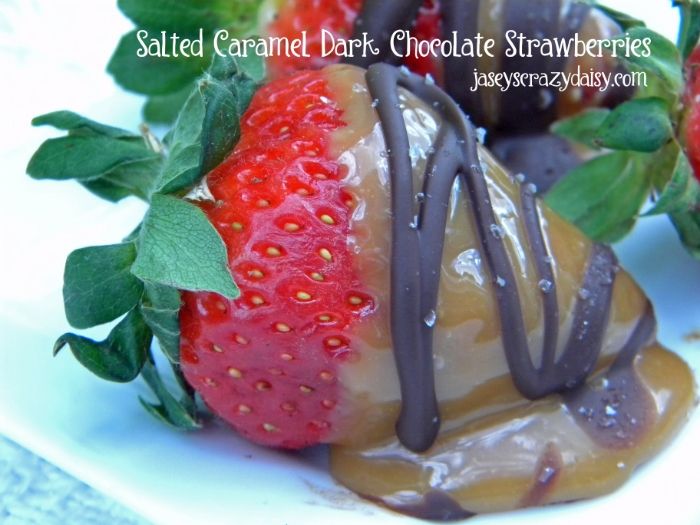
Salted Caramel Dark Chocolate Strawberries

I am addicted to cookbooks. I love looking through recipes. I think it's an addiction that has been passed down from generations~ my mother shares this addiction as does my grandma. I think we could even toss my great grandma and even my aunts into the mix as well. With this in mind, you can imagine my delight as I walked passed a table at the library with an entire stack of Southern Living there to keep... for a donation. I didn't have any cash, but that sweet librarian told me I could take them if I brought some money with me next time. We are sort of frequent fliers at the library and I think she knew we would be in soon. I dug into the stack and carted off five or six with the most yummy food pictured on the cover. Which is were these strawberries are inspired from. They had me at Salted Caramel Strawberries. They however, dipped theres in mixed nuts, and I couldn't do without dark chocolate. Both probably would have been divine and I could probably handle a layer of toasted coconut smothering all that caramel. Maybe next time. Anyways, seriously, yum.

Salted Caramel Dark Chocolate Strawberries
*Recipe by Crazy Daisy adapted from Southern Living, April 2009 (no link available)

20-25 large strawberries, depending on size
40 caramels, unwrappped (put the kids to work)
3 Tablespoons whipping cream
1/4 teaspoon salt
1/2 cups dark chocolate chips
Sea salt, optional
wax or parchment paper

 Spread wax paper over counter or on cookie sheets and spray with cooking spray. Rinse strawberries. Pat them completely dry with paper towels (the caramel will not stick to damp strawberries).

Microwave caramels, cream, and salt in a microwave-safe bowl at 50% power for 3 1/2 minutes or until smooth, stirring every minute. Dip strawberries halfway into caramel mixture. Place on prepared wax paper.

Place chocolate chips in to a zip-loc bag. Microwave for thirty seconds. Take bag from microwave and use fingers to knead chips. Repeat until chocolate is melted. Cut a small piece off the corner of the bag and drizzle chocolate over strawberries. Sprinkle lightly with sea salt, if desired.

Let stand for about ten to fifteen minutes or until set. Serve immediately or cover and chill. These are best used within eight hours, however ours were in the fridge for a day or two and my husband still adored them.

What do you think? Perfect summer dessert! Don't you think?

Participating in the Summertime Challenge at
Visit thecsiproject.com
I'm sharing this yumminess here!
Photobucket
Enter your email address:


Delivered by FeedBurner

Friday, December 3, 2010

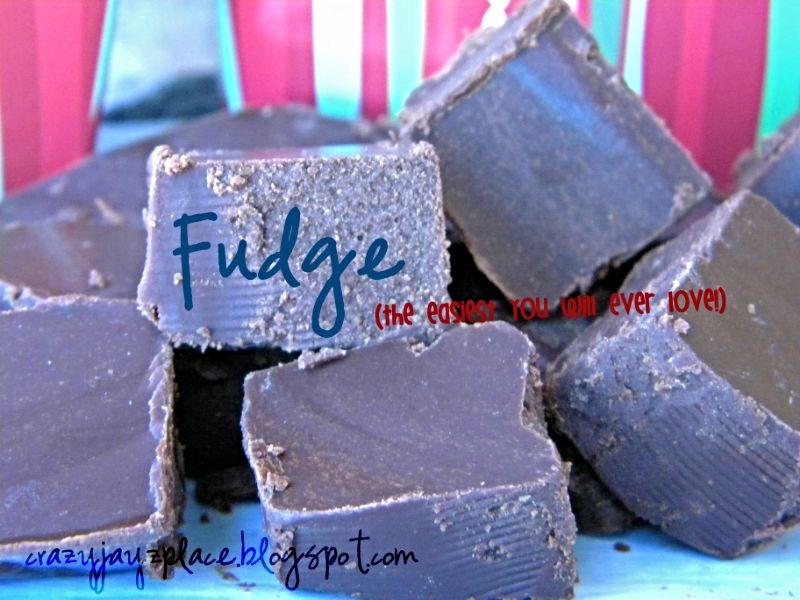
Fudge - The Easiest You Will Ever Love


What a wonderful time of the year! We have been enjoying the holiday season - decorating, shopping, baking, singing Christmas songs, and even playing in the snow and making snowmen. My youngest even found time to ride his trike while I shoveled the snow from our driveway the other day. Do you think I could attach a snow plow to his trike? I am sure you are all just as busy readying yourselves for the holidays, so I thought I might share a recipe with you that you are sure to appreciate! I promise, this is the easiest fudge that you will ever love! My aunt, Sue, passed it along a couple of years ago - and there is only TWO ingredients, unless you add nuts and then there is a whopping THREE! Quality ingredients are key to what might just be some of the creamiest fudge you have ever made!!! So don't skimp, use premium Ghiradelli chocolate and a brand name cream, such as Darigold or Meadow Gold and you should be set!!!

Fudge - The Easiest Fudge You Will Ever Love
*Recipe on Crazy Daisy courtesy of Susan Bodner

*Note - Double this recipe and use a 9x13 pan for even more yummy fudge. I also should tell you that I have made this with Ghiradelli Semi-sweet chocolate chips, and it works beautifully - but is for only those who adore smooth creamy DARK chocolate!

3/4 cup brand name heavy whipping cream, such as Darigold or Meadow Gold
2 3/4 cups Ghiradelli Milk Chocolate Chips
1/2 to 1 cup nuts or brickle chips - chopped or whole, whichever you prefer, optional

Butter a 8x8 square baking dish. Or for easier cutting, line the pan with foil. Make sure the foil hangs over opposite edges so that you have handles to pull the fudge out of the pan with when it is finished. Butter the foil. Set aside.

In a heavy saucepan, warm cream over medium high heat until it is warm enough to melt chips.  Place chips into saucepan and stir until they are completely melted and the mixture is smooth and creamy. Stir in nuts. Pour into prepared pan. Refrigerate, cut into pieces, and enjoy! 

It doesn't get much easier than this, does it?

I'm sharing this yumminess with

Join  us Saturdays at tatertotsandjello.com for the  weekend      wrap    up           party!


Funky Junk's Saturday Nite Special


Photobucket
Enter your email address:


Delivered by FeedBurner

Monday, August 9, 2010

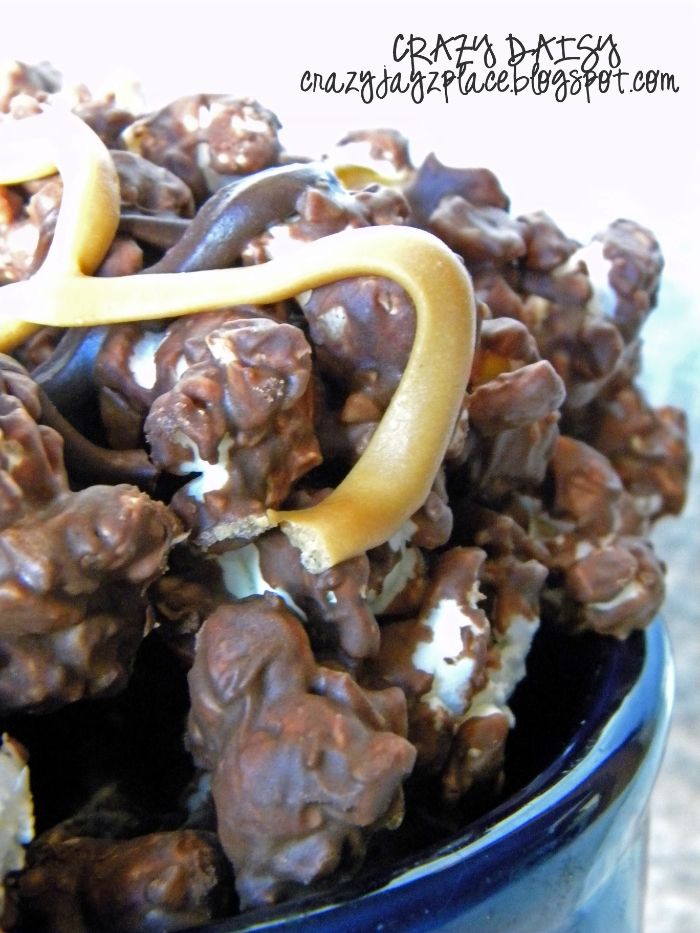
Chocolate Toffee Crunch Popcorn


Gourmet popcorn is one of my favorite treats! Except for the gourmet price, I can't think of anything I don't like about  it. Problem solved - make your own! What a perfect treat for this August heat- NO BAKING required! With a few ingredients and a microwave you are set!

Chocolate Toffee Crunch Popcorn
*Recipe by Crazy Daisy

20 cups popcorn (or two bags microwave popcorn)
1 (8 oz.) bag Heath Bits
1 (12 oz.) bag semisweet chocolate chips (or 2 cups)
1 (11 oz.) bag butterscotch chips, divided
1 tablespoon Canola Oil or shortening 

Spread waxed paper onto over two cookies sheets. Spray with cooking spray to prevent sticking.

Pop corn. You will want to make sure to take out all  of the unpopped kernels. Pour into a very large bowl and add Heath Bits.

In microwave-safe bowl, melt semisweet chocolate chips with one cup of butterscotch chips for 2-2 1/2 minutes stirring every 30 seconds until smooth.

Pour over popcorn mixture and gently stir until combined. Spread onto prepared cookie sheets.

Place remaining butterscotch chips in a zip-lob bag. Place in microwave for 1 minute.  Every thirty seconds, take bag out and use fingers to knead to mix. When smooth, clip a tiny piece of the corner off of the bag and drizzle over popcorn (to quicken this process, place in fridge or freezer). Let dry and break into pieces. Wouldn't this be fun wrapped in treat bags for gifts? Enjoy!

PS - Tuesday Tastes is back! Click here for this week's party!

Sharing this recipe with
Join  us Saturdays at tatertotsandjello.com for the weekend wrap up         party!

Photobucket
Enter your email address:


Delivered by FeedBurner

Tuesday, July 6, 2010

Holy Cow Cake


I don't exactly know where this recipe comes from. What I do know is that Momma Daisy has made it for a long time and it is a family fav! I don't know where its name comes from either... maybe its just "Holy Cow!" good.

This cake starts with a basic chocolate mix, your preference - German Chocolate or Devils Food; soaked in a rich caramel mixture that results with a super moist, "oh-my, that's amazing cake." It is then layered with crushed Butterfingers candy bars and a cream cheese-whipped cream frosting. There's enough going on with this cake that no one will know, or even care that you started with a mix! Super yummy!

Holy Cow Cake

Chocolate Cake Mix (your preference), baked as directed
1-14 oz. can of sweetened condensed milk
8 oz. jar of caramel topping
4-5 Butterfingers candy bars, crushed 
1-8 oz. cream cheese, softened
12 oz. Cool Whip

Prepare and bake cake as directed on package. 

Meanwhile, blend caramel and sweetened condensed milk.

After removing cake from oven, use a skewer or fork to poke holes into the top of the cake.

Pour caramel mixture over cake.

Crush candy bars and sprinkle half of them over the warm cake. Chill.

Stir cream cheese and Cool Whip together until blended well. Spread over cooled cake.

Sprinkle with remaining candy.

Yummo!
Photobucket
Want more? Have Crazy Daisy delivered straight to your inbox!!!
Enter your email address:


Delivered by FeedBurner

Tuesday, June 22, 2010

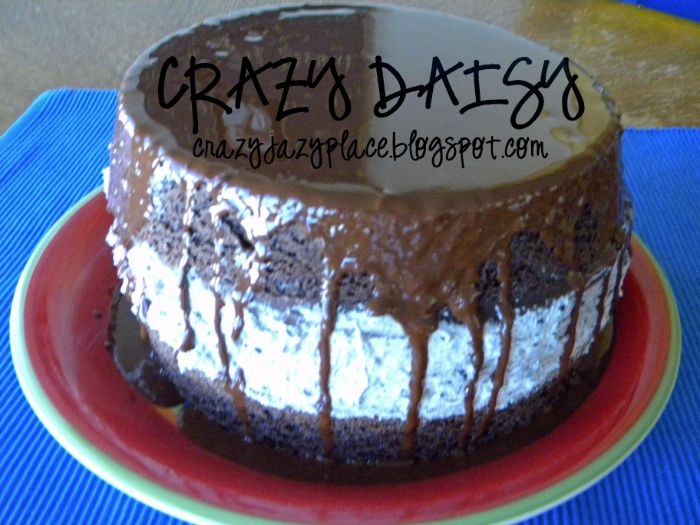
Oreo Creme Cake

* Recipe adapted from Kraft Philadelphia

I don't even know where to begin with this recipe! My son fell in love with it and wanted to make it for Father's Day since my hubby likes Oreos. I am not in the habit of sharing recipes that are not tried and true, much less that I haven't even tasted (... I know!) but that is the case with this cake. We made it for a Father's Day barbecue and then my son ended up sick and we couldn't go. I dropped the cake off because I said I would bring dessert and went home to my poor little guy! NO CAKE FOR ME! I can tell you that everyone was oohing and ahhhing  just at the sight of it (someone even asked if I hire out)! Momma Daisy returned my plate and said it was devoured and there wasn't even a crumb left to bring back. For now, I guess we will have to take their word for it - at least until I have another excuse to make it.

Oreo Creme Cake
*Recipe adapted from Kraft Philadelphia

1 pkg (2-layer size) devils' food chocolate cake mix (I prefer Duncan Hines) AND according ingredients
4 oz semi-sweet chocolate (Use a good baking chocolate bar! I used Ghiradelli)
1/4 cup butter
1 pkg. (8 oz.) cream cheese, softened
1/2 cup sugar
2 cups thawed Cool Whip
12 Oreo cookies, crushed

Bake cakes, as directed on package in 2 (9-inch) round pans. Cool cakes in pans 10 minutes and invert onto wire racks. Gently remove pans. Cool cakes completely.

Microwave chocolate and butter in a small microwave-safe bowl on HIGH for 2 minutes or until butter is melted. Stir until chocolate is melted. Cool 5 minutes.

Meanwhile, beat cream cheese and sugar until blended. Gently stir in thawed  Cool Whip and crushed cookies. Stack cake layers on plate, spreading cream cheese mixture between layers. Spread top with chocolate glaze. If glaze becomes too thick, microwave on high 20-30 seconds or until desired consistency. Let stand until firm. Keep refrigerated. 


If you are lucky enough to get a taste of this cake, would you please let me know what you think?!?!


If you are looking for a fabulous cake, you just might like this Chocolate Mousse Crunch Cake!!!


I am sharing this recipe with Tasty Tuesday, Tuesdays at the Table
Photobucket
Want more Crazy Daisy? Have it delivered straight to your inbox!!!
Enter your email address:


Delivered by FeedBurner