Showing posts with label Idea Book. Show all posts

Thursday, April 19, 2012

Thanks A Latte {Thank You Gift with Free Printable} {Great for Teacher Appreciation Gifts}


Pin It
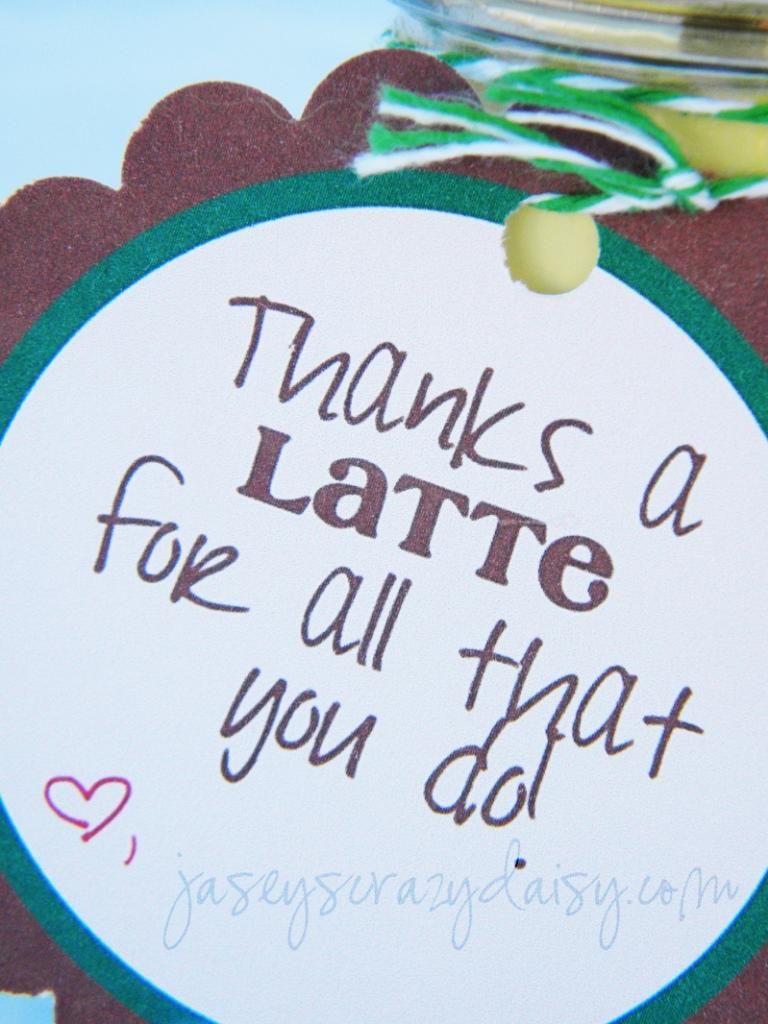
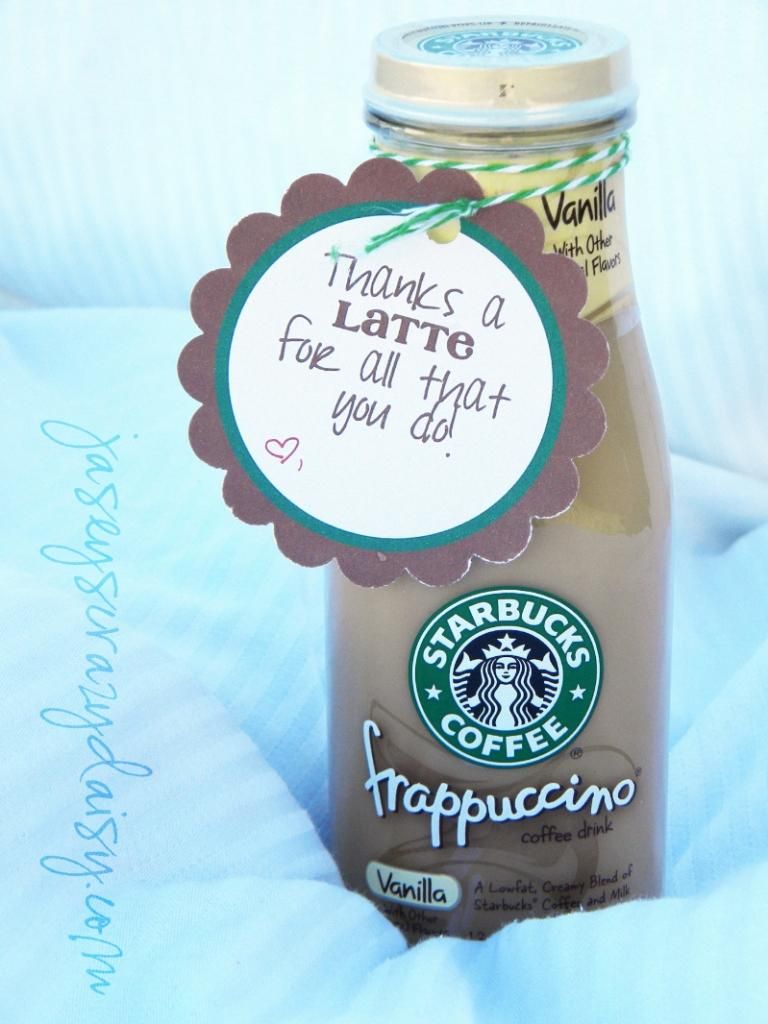
People amaze me. Yes, I find myself sharing company with crazies who seemingly strive to make things difficult just for the joy of it, but I also find myself surrounded by tons of caring individuals who use their amazing talents to extend kindness and happiness into the lives of those around them. I love witnessing these moments, especially when I am lucky enough to catch small acts of kindness, because despite how little they may seem, they often have gigantic and lasting effects. We often reserve thank you's for special occasions, sending them in response to gifts, but what about those times when someone gives a simple gift of their self - of time, energy, or in kind words or praise? Sometimes we not only fail to recognize these moments, but take them for granted as well. How sad. I try to remember to be mindful of those around me and of the gifts they extend. Whether it be the school crossing guard as he wipes tears from the eyes of a child who just scraped their knee, a friend simply showing up just because they are needed, or a teacher dedicating extra time and effort to make students feel like the treasures they are, there are so many people out their making differences and changing lives. Often, they go unnoticed. A simple thank you is all it really takes, but its fun to add a little something special. Which is why I love this "Thanks a Latte Gift" - it's an easy, fun, and inexpensive way to let someone know they have made a difference in your life. You can just tie these tags to a cold coffee beverage as shown (I've done them individually or even tied to the carton of four beverages), attach them to a coffee house gift card, or stick one on a reusable coffee thermos filled with treats and you are bound to bring a smile to someone's face. It's that simple.


All you have to do is download the document, print it onto card stock, cut or punch your tags out, and attach them to your gifts. Fast. Fun. Easy. I use this 3-inch circle punch to cut my tags out, but you could always use a glass to trace around or cut them into squares if you would rather.
Latte Printable
Photobucket
Enter your email address:


Delivered by FeedBurner

Monday, March 26, 2012

Southwestern Colored Easter Eggs {A very simple easy way to add a little more color and depth to your Easter eggs}

Pin It

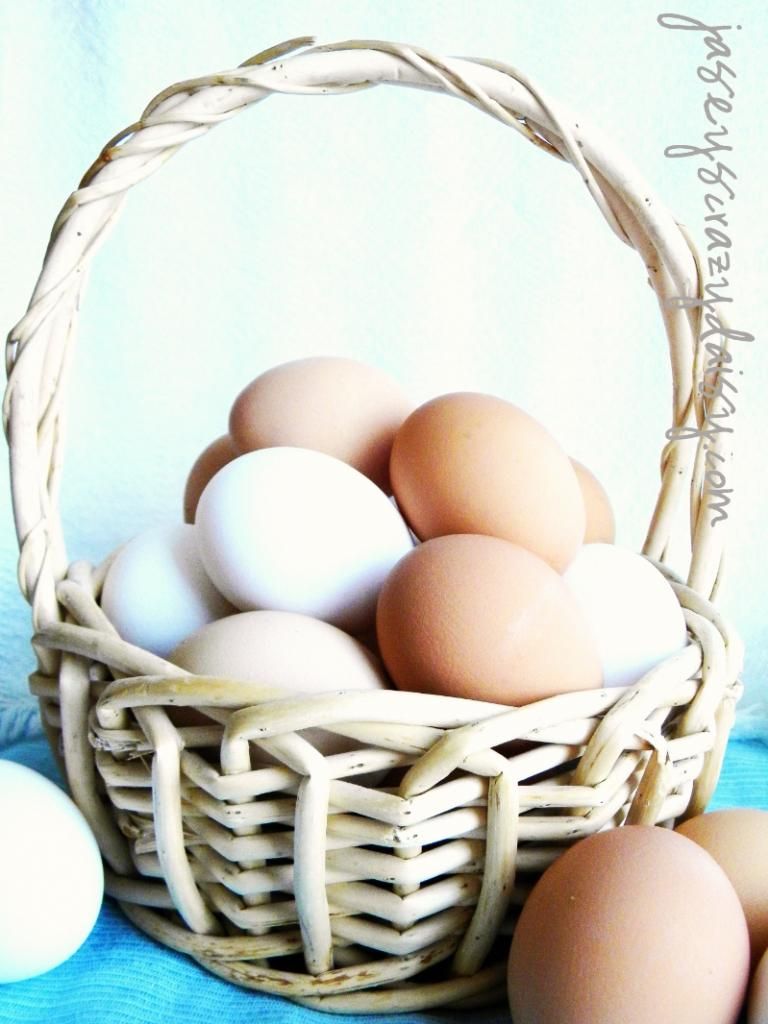
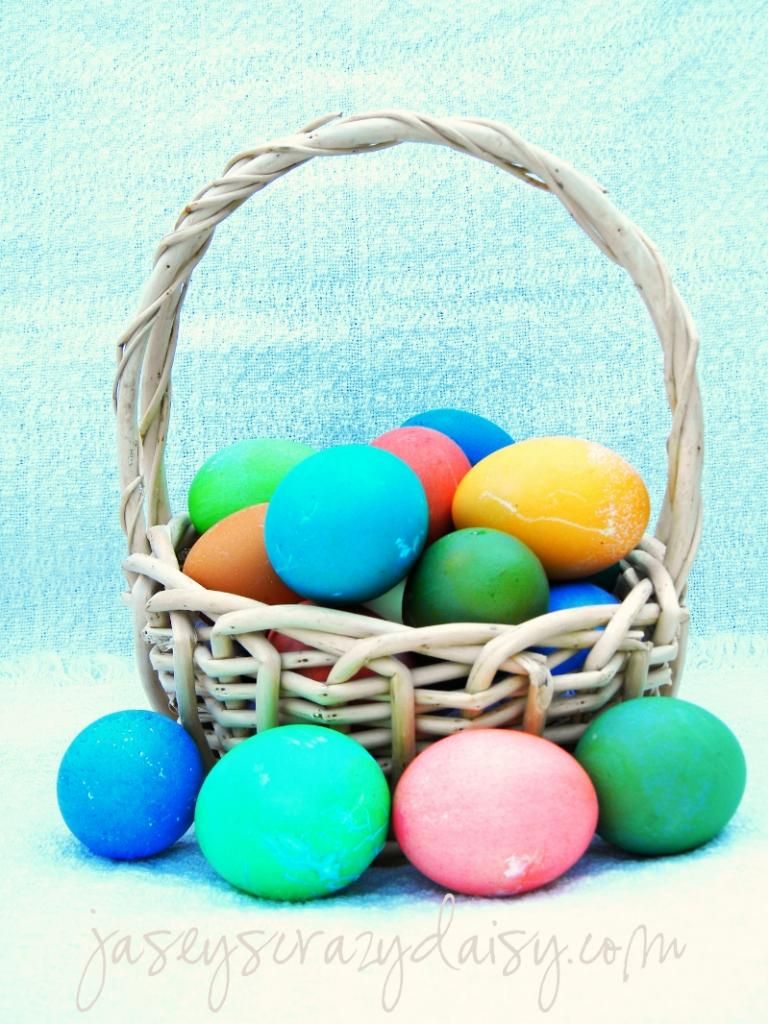
I'm always looking for simple ways to shake things up. Let's face it, in our world of craziness, there's just not always time to be "Martha." Last year while visiting my in-laws, we dyed Easter eggs as part of our holiday festivities. When my mother-in-law broke out the brown eggs, I thought she was certifiably crazy. "Like those are really going to take on any color..." I thought quietly to myself. Thank goodness I never uttered my thoughts aloud, because not only did they take the color, they turned out beautifully. Perfect for Sante Fe styles of Saint George, where we were enjoying the sunshine coloring eggs outdoors, as the eggs turned into different southwestern hues. Instead of the pastel or candy colored eggs we're accustomed to, the brown eggs ended up in deeper sapphire, ruby, emerald, and other jewel colored tones.  I laughed when my son saw these eggs and exclaimed the very same thought that I had the previous year, "Mom, you really think those brown eggs are going to actually change color?!?"
It has thrilling to watch as he experimented with the eggs. He'd dye a white egg one color, and then a brown egg the same color just to see the difference. He was delighted when the brown eggs did actually turn colors, and had such a great time comparing and contrasting the differences between the two.
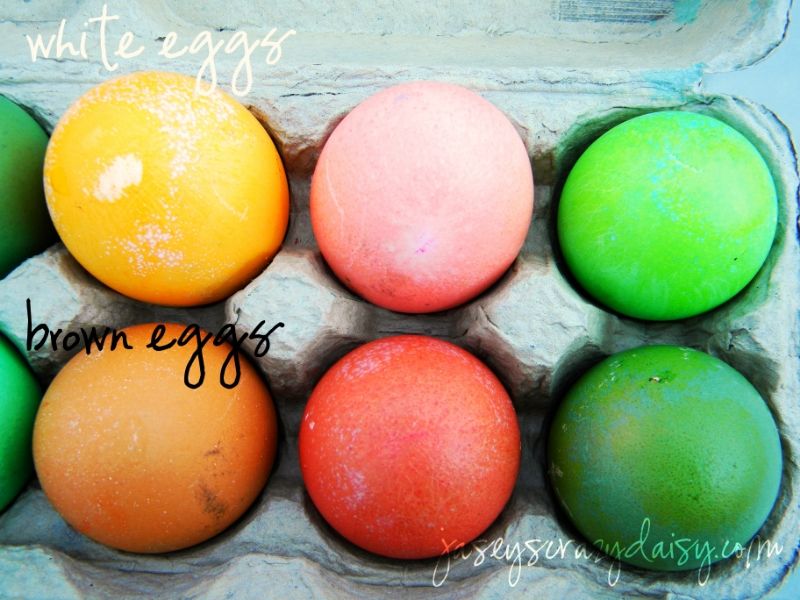
The eggs in the top row started as white eggs and were dyed using the same color as the brown eggs on the bottom. See how much deeper the colors are?
Not only did he end up with a basket filled with tons of different colors, traditional and southwestern, he set his little brain to work, and made quite the experiment out of our Easter festivities. 
There's not much of a tutorial for this one - simply boil some brown eggs either with or instead of white eggs and color your eggs as directed on dye package.

We've also had fun making speckled eggs and also using vinyl to personalize our eggs. What tips and tricks do you have for coloring Easter eggs?
Photobucket
Enter your email address:


Delivered by FeedBurner

Saturday, March 24, 2012

Baby's Quilt

Pin It
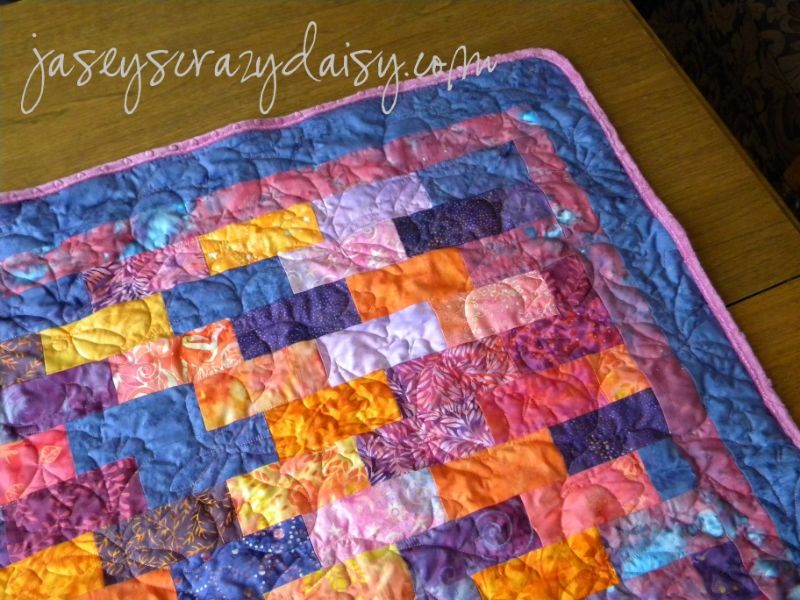
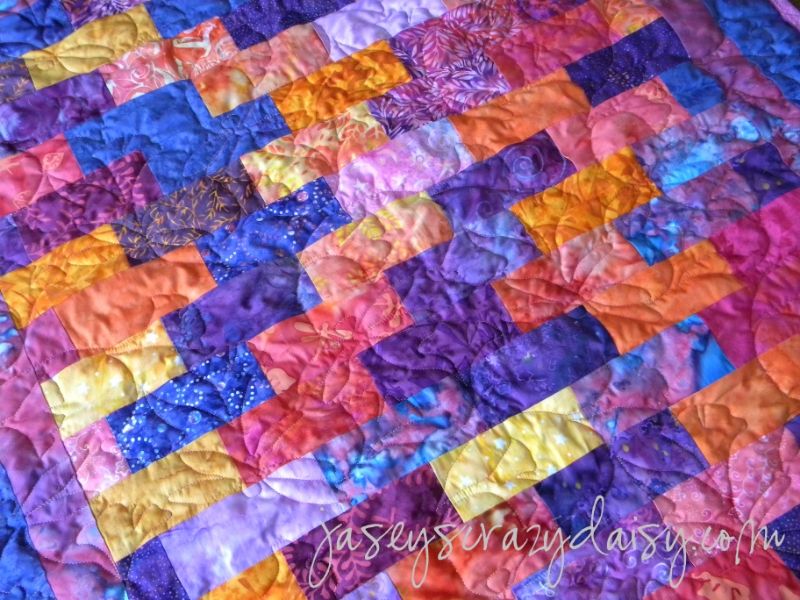
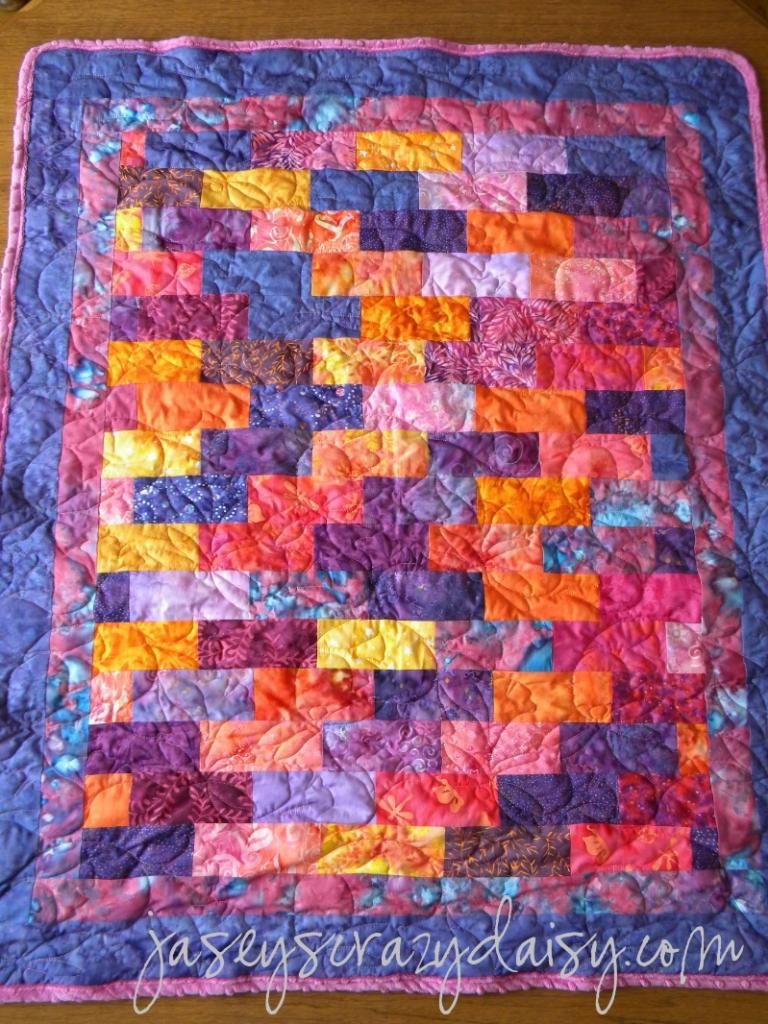
You may remember that we are expecting a little one this spring... a little girl. This is her quilt. I used fabrics I had left over from this star quilt, simply because I love them. "Happy," they say happy to me. I know it's not your traditional baby quilt of pastels, but that probably doesn't surprise you either. I wanted something vibrant, full of life, color, and energy - everything I wish for her.
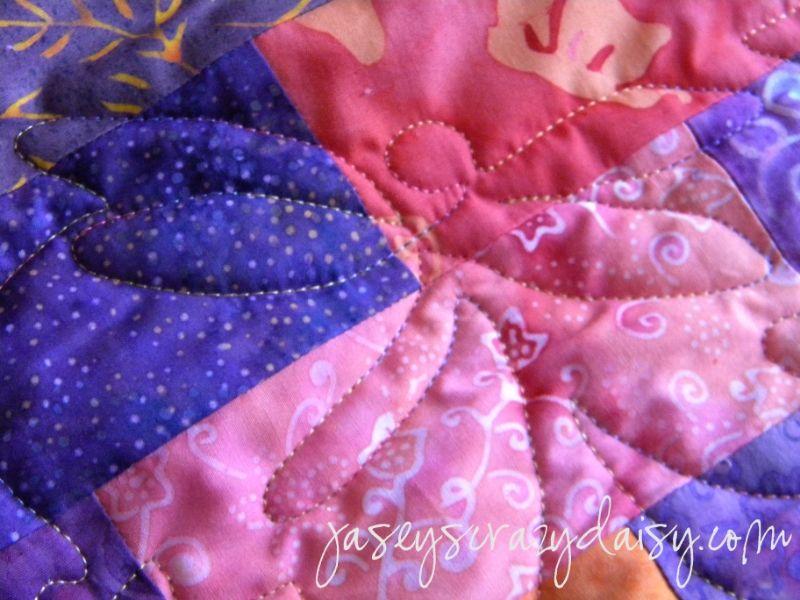
I love how my fabulous quilter, Marge, stitched dragonflies into the design. I like to think that dragonflies remind us to embrace the beauty we already have, rather than to remain in a constant search for something we aren't. While I acknowledge there is always room for growth and improvement, I think it is vital to recognize the amazing gifts and talents we are blessed with, and to value the treasures we already posses because if we constantly search for what we don't have we may never find happiness or be content with ourselves. Again, more of what I want for this little girl, to always see the beauty that I already know she has - even before she's born. 
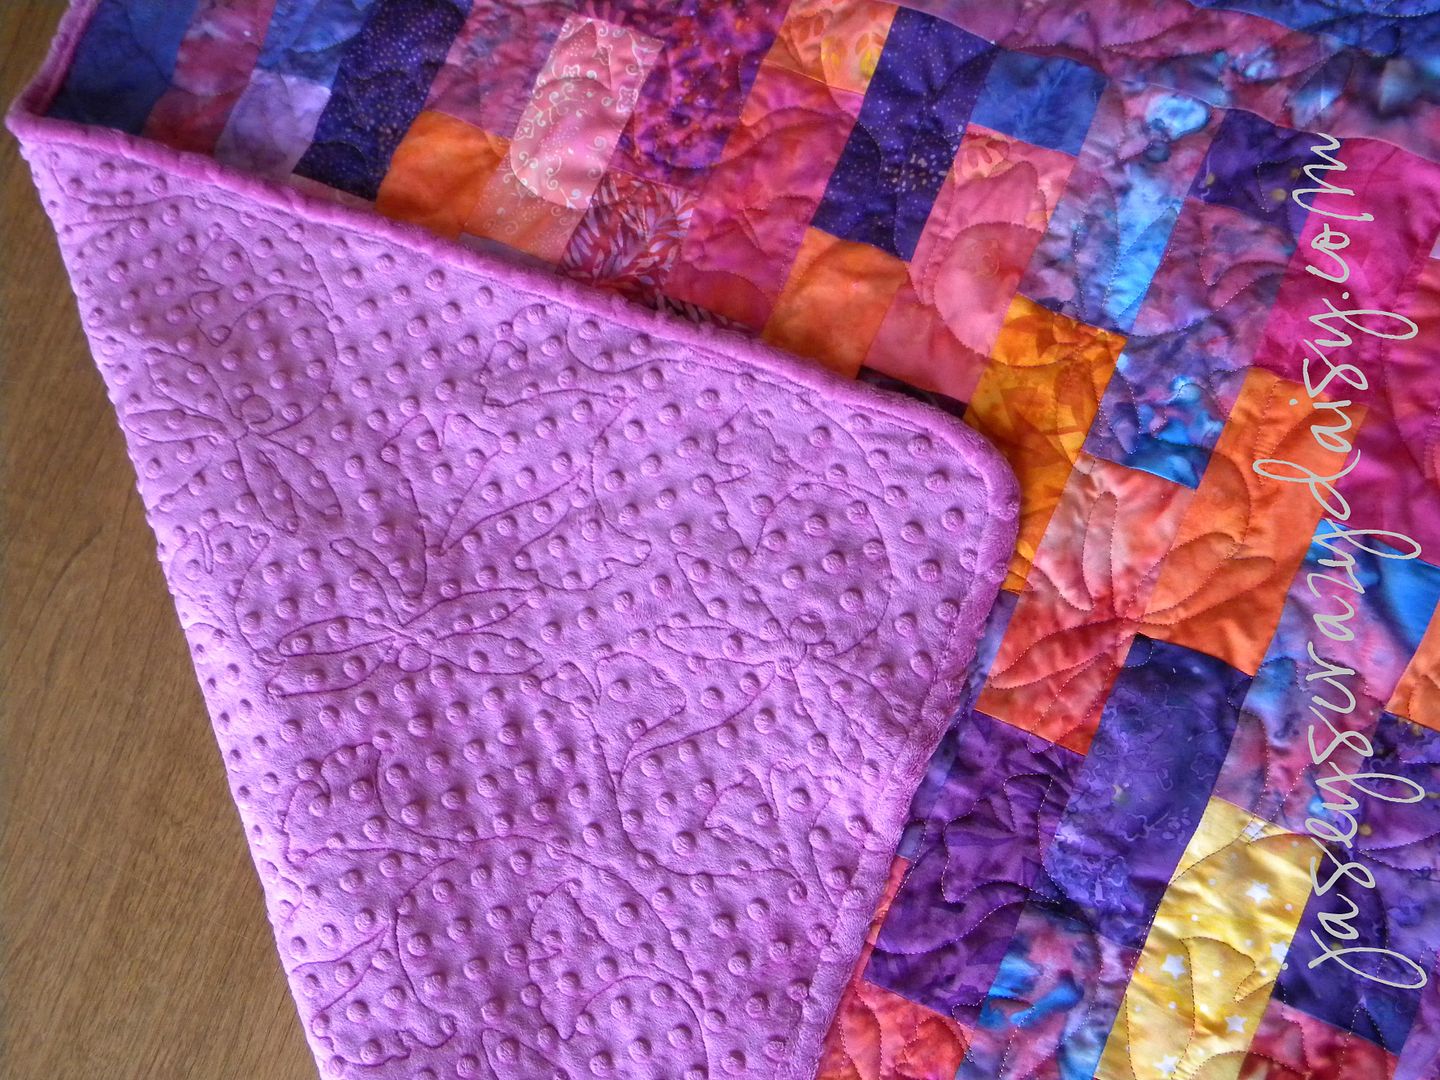
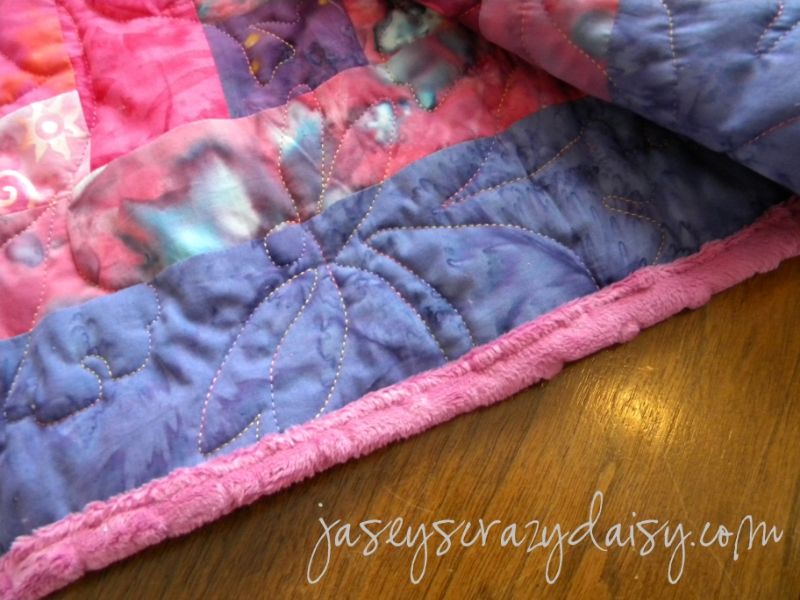
Can you see it? They are stitched throughout the entire quilt. I lined the back with a raspberry sherbet minky fabric - ultra soft. In fact, it's so soft that sometimes I wish the women at the fabric store would just roll me up in the fabric straight off of the bolt  - now that's my idea of the ultimate cocoon of softness.
To frame everything with a little extra pop of color and add some texture, I used the same minky fabric for the binding.
I don't have a decent picture of the entire quilt to post, and almost didn't share it as a result. But I decided that if I waited for the universe to cooperate, it may never happen, so I apologize in advance for the last picture. Hopefully someday, it will get updated. 
I didn't want to chance my husband having a heart attack if he caught me standing on a ladder right now, so that's about as good as it gets. I think it's good enough that you get the basic idea. Now that her quilt's done, all we need is her. But I don't mind if she takes her time..... I have a feeling she's going take this world by storm :).
Photobucket
Enter your email address:


Delivered by FeedBurner